Add Helppier widget to your site using Google Tag Manager
1. Login to your Helppier dashboard and go to the Install tab.

2. Click on the Copy Script button.
3. Then, log into your Google Tag Manager account and select your container.
4. Verify if you added the Google Tag Manager tracking code to your website. It is available under Admin > Install Google Tag Manager. You can also check here how to install Google Tag Manager.
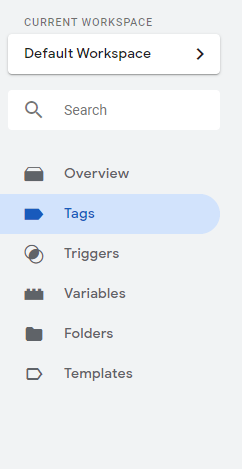
5. On GTM workspace, click Tags to create a new tag for your Helppier tracking code. Then select New.
6. On the new window, click on Tag Configuration > Custom HTML
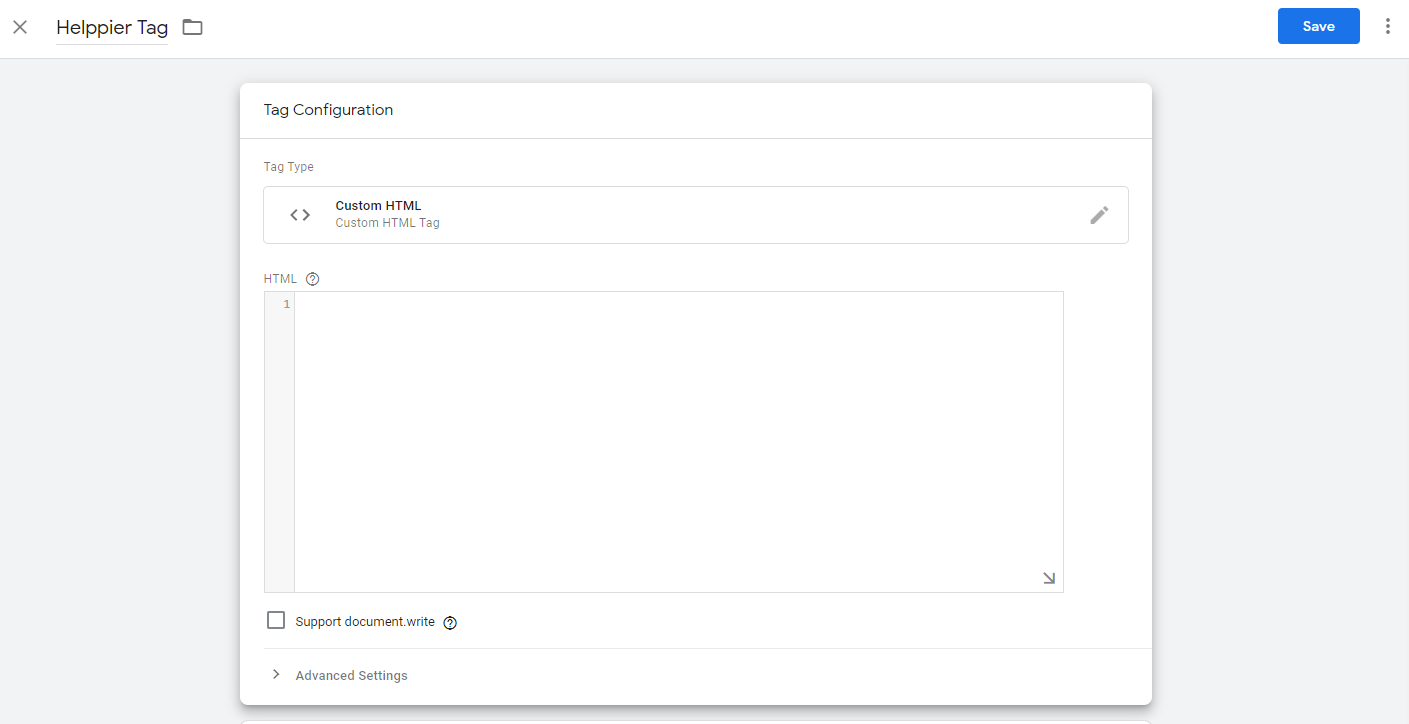
7. Then, paste inside the HTML section the Helppier tracking code. Click the Continue button to proceed.
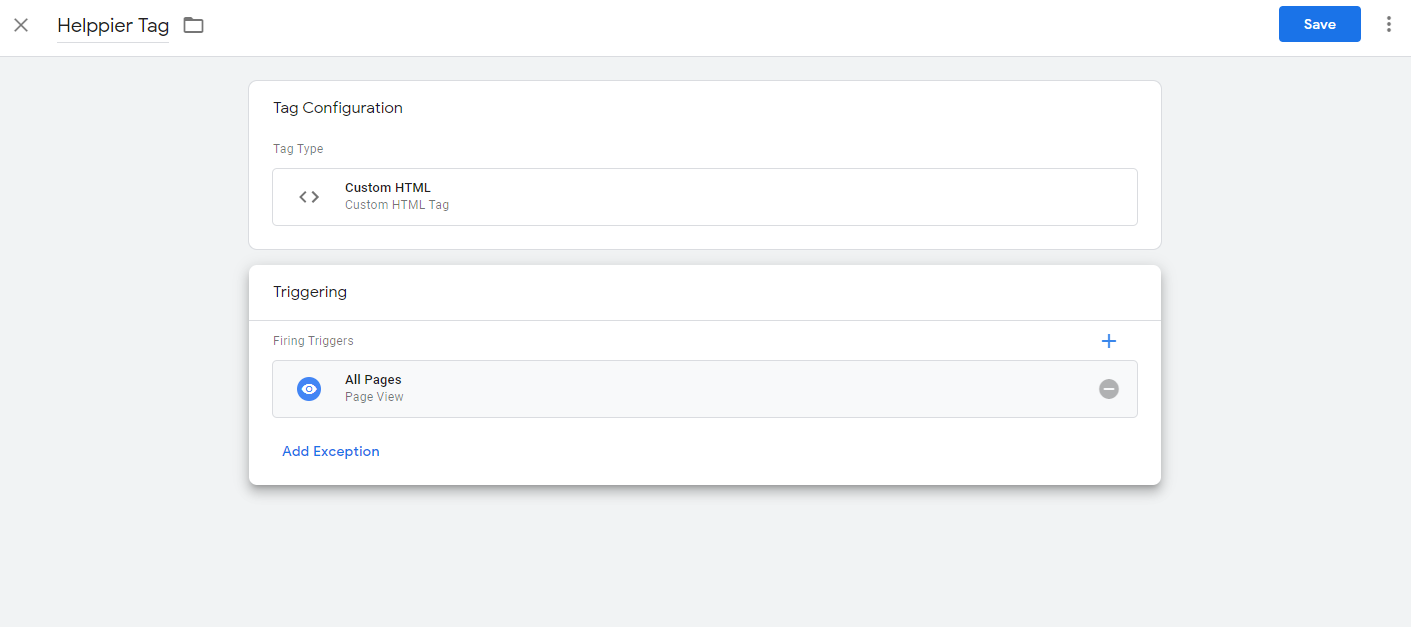
8. Click on Triggering to set up and add a rule. We recommend selecting the option All Pages to ensure Helppier is fired on all pages of your website.
9. Add a descriptive Tag Name at the top.
10. Save the new tag that was just created.
11. To finalize, click on the 'Publish' button to add your new tag.
12. Go to your website and refresh the page. The Helppier widget will automatically appear.
11. To finalize, click on the 'Publish' button to add your new tag.
12. Go to your website and refresh the page. The Helppier widget will automatically appear.
Comments
0 comments
Please sign in to leave a comment.