All you need to know about creating effective user guides and in-app messages with Helppier.
In this article, we will cover important subjects regarding the features and services we offer. Namely, the process of creating and editing guides, the definition of interactive actions, and good practices of use.
So, let's get started? 😉
User & Employee Onboarding
1 - Create welcome tours with no more than 5 steps
The average attention span is now 8 seconds. This means if you want to build effective onboarding messages, you need to be concise.
Tours and tutorials are often used to welcome users and provide a platform overview. But keep in mind, that tutorials should have no more than 5 steps if you want better conversion rates.
In fact, ideally, it should have between 2-5 steps.
Use tutorials/walkthroughs to guide users step-by-step through a specific flow on your website and provide an overview of your platform.
Tutorials - Best practices
💡 Tutorials shouldn’t be longer than 7 steps (users have limited attention span) - try to break information into small guides;
💡 If the step description is long, select Text layouts;
💡 Avoid using more than 200 characters on each step;
💡 To record a multipage guide, select a clickable element ( like links or buttons) and choose the action “Click” on the Actions menu;
💡 Always use fail behavior "Redirect user to start page" to ensure your users can follow the guide on the correct URL;
💡 Create automated tutorials that start only on a specific page of your platform. Choose the option "From url pages" in Start Guide.
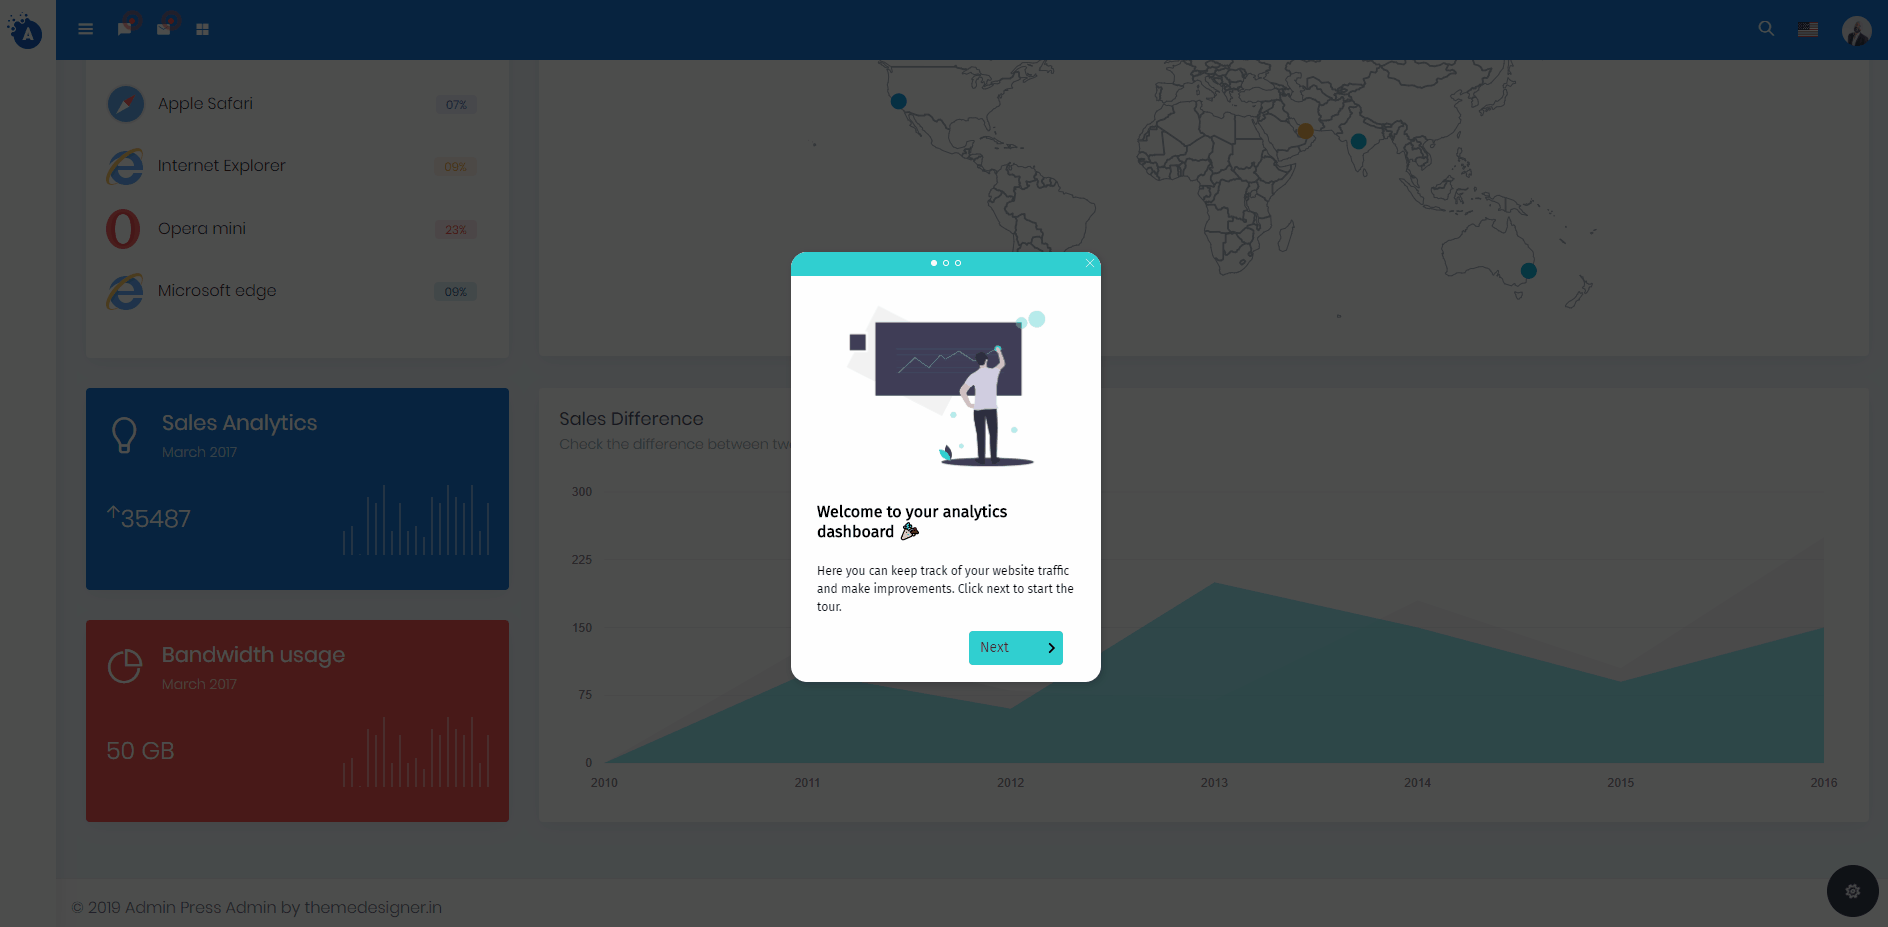
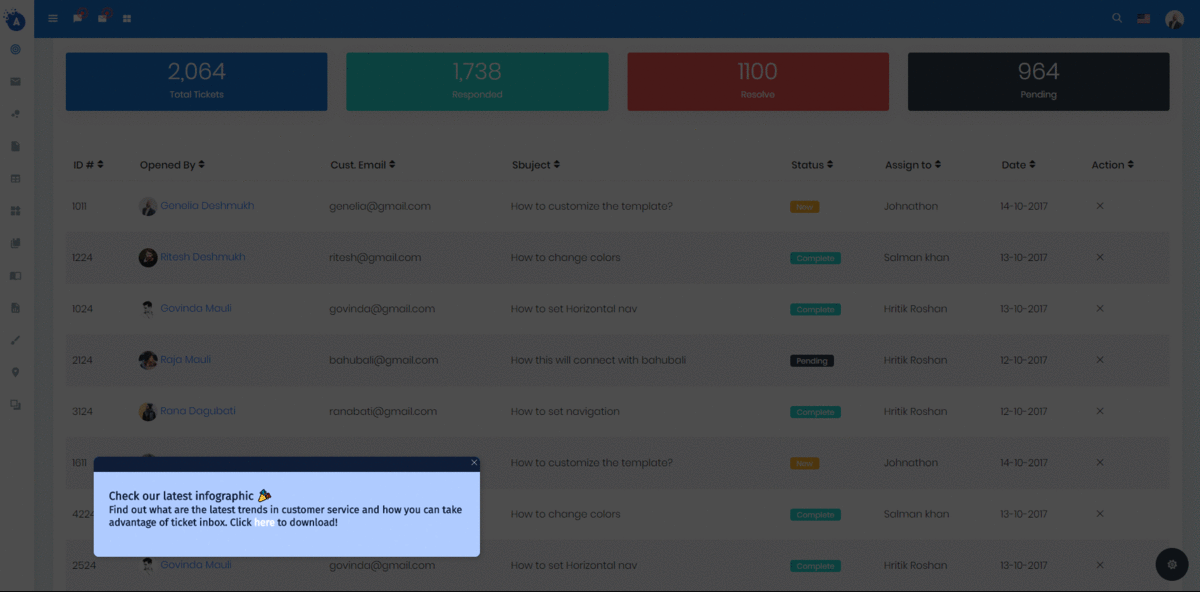
2 - Create an engaging welcome message using Popups
Popups are one of the most common types of messages out there! It is normally used to welcome users, announce new features, or even encourage actions such as subscribing or purchasing a product.
For the first step of your onboarding tutorial, we recommend using the "Pop up" action located in step settings to create a welcome message that appears in the center of the screen.
Use the layout that supports media to include an image or video, and write a brief description to help users understand your product's value.
3 - Convert tours into ready-to-use tutorial videos
If you want to effectively onboard new users or employees on other channels like Youtube, Vimeo, or even Slack, you should convert your tours into ready-to-use tutorial videos.
Users often prefer watching videos than interacting with any other documentation.
If you want to demonstrate how to perform a specific task that is complex and has too many steps, we recommend that you convert your tour into a video and share it with users online or offline.
Read this article to learn how to use the video feature.
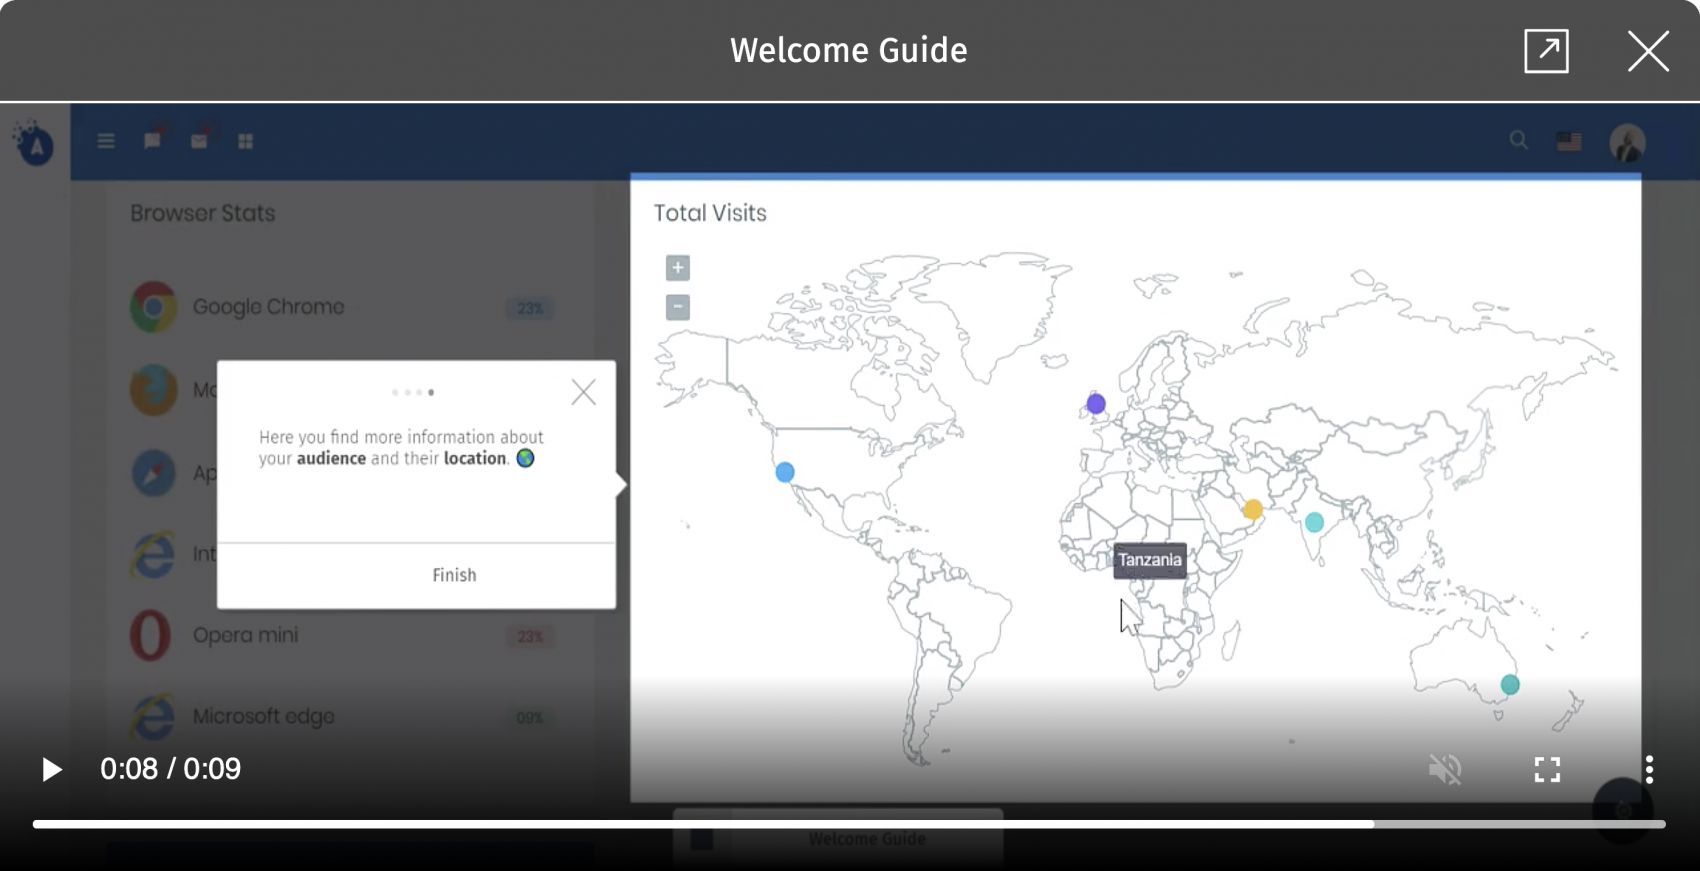
4 - Introduce guides automatically to first-time users
A great way to highlight areas of your platform or provide assistance to new users is by introducing tutorials automatically when users enter a specific page (url).
After recording your onboarding guide, you can set it to start automatically using our triggers.
- Access "Edit Guide" and select the "Start Guide" option.
- Choose "Autoplay" and then, "From Url Pages". Make sure the URL specified is correct.
- To preview the guide's trigger, you need to publish the guide & logout of your account.
If you want to provide an effective overview of your platform, create a tutorial in your homepage/start page and then slowly move users to another page using the action "Click" on a clickable element of your platform.
Marketing & Engagement
1 - Use customization tools and Canva integration to create appealing messages without designers or developers;
Improve your website conversion and retention rates with in-app messages that appear at the right place and time.
You can choose from a wide range of bubble layouts and fully customize the colors and appearance of your in-app messages.
Here are a few examples of how to use Helppier for marketing:
- Highlight specific products
- Present discount coupons
- Encourage upgrade
- Do cross-sell
- Promote content (ebooks, infographics, etc)
- Announce new updates
If you currently don't have time to wait for your design team, you can fetch designs directly from Canva and include them in your messages.
Check out this article to know how to create and upload designs from Canva directly to Helppier.
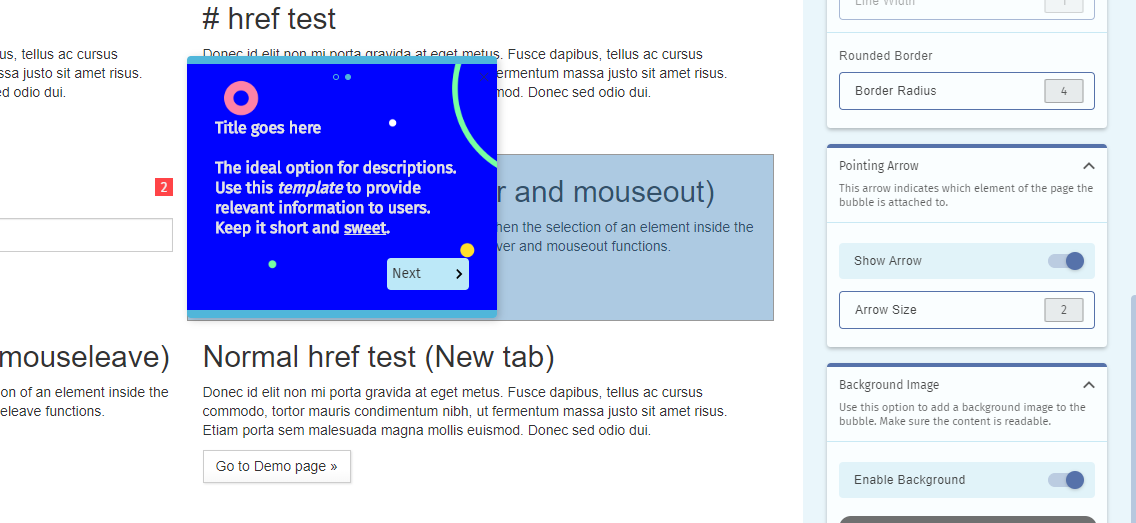
You can upload Canva designs as background (just like the image above) or upload it as additional images.
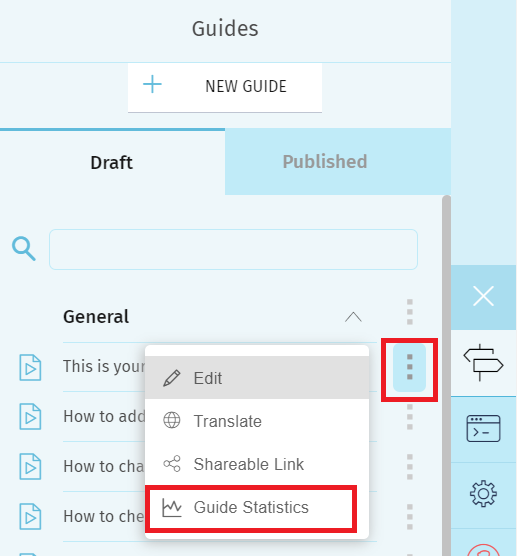
2 - Track your campaigns views and performance using our analytics tool and make adjustments;
Marketing is all about adjusting and improving your strategy based on performance.
You can use our analytics tool to check how many views and completions your messages and guides have and check the best-performing ones. In addition, you can send specific Helppier events to your Google Analytics or Mixpanel account.
If you'd like to include a link to a specific landing page within your in-app message we recommend using Google's campaign URL builder so you can check how many conversions your Helppier messages generated.
3 - Improve visualization by removing the bottom bar when users are checking your in-app campaigns;
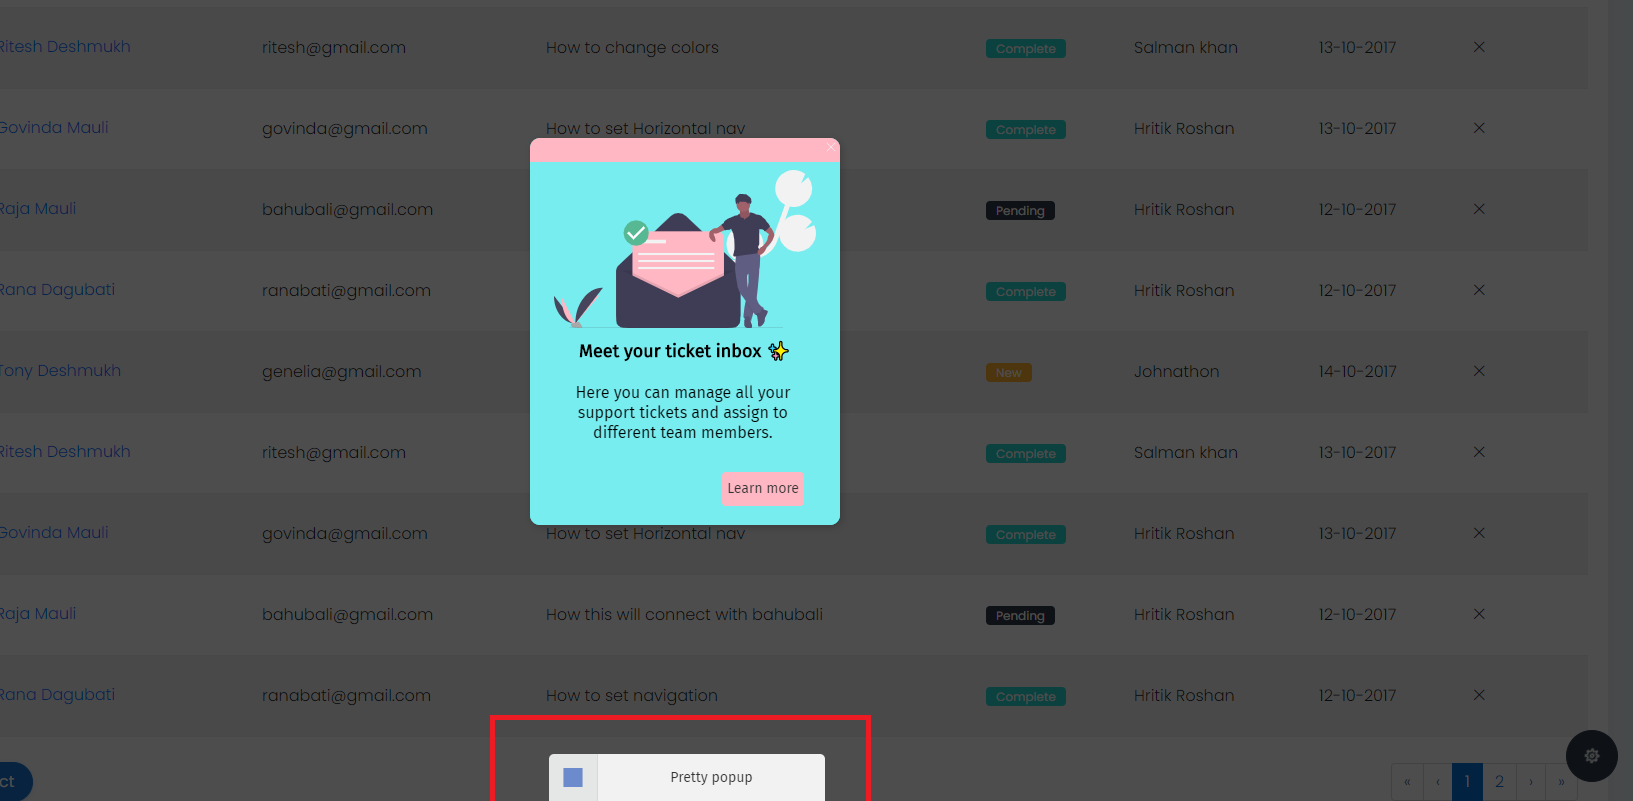
If you're using Helppier to create individual in-app messages and not step-by-step tours, we recommend disabling the bottom bar that appears at the time of visualization.
This bottom bar shows the title of your guide/message and has a stop option that allows users to close it.
To remove it simply edit your guide and access "Interactions Settings" and disable that option. You can check more info here.
Customer support
1 - Place contextual help messages across your platform
Users expect help within 5 minutes when facing a problem online. Which doesn't leave much time for an email or phone call!
Tours and tutorials are extremely helpful as they guide users step-by-step towards a goal on your platform. But, in some cases, users prefer reading small tips and continue exploring the platform on their own.
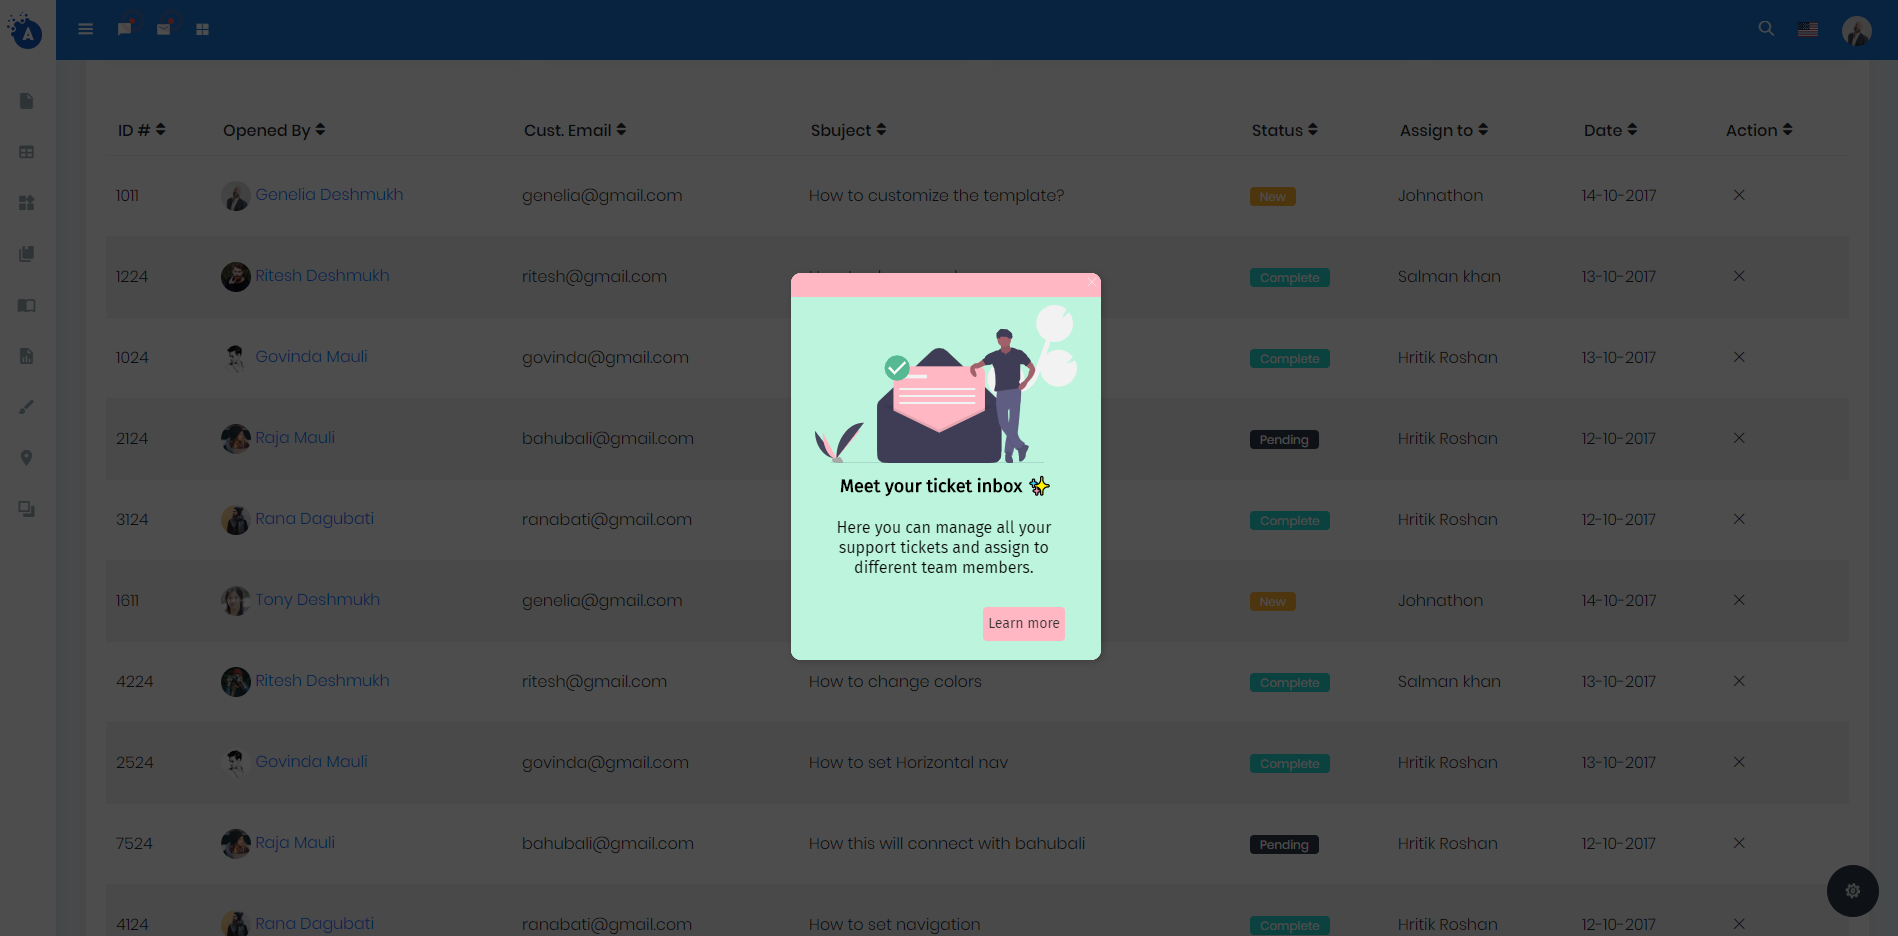
So, to ensure users can easily achieve their goals, you can place contextual help messages (Tooltips) on specific areas such as Forms or complex Features that you may have on your platform.
Use tooltips to provide little hints/descriptions about a specific feature or form field, and highlight specific areas of your platform.
Tooltips - Best practices
💡 You can create several tooltips at once when recording the guide. The process of creating tooltips is similar to creating a tutorial;
💡 Tooltips are enabled when the user clicks on the (?) icon, make sure the description is small and relevant to the user;
💡 It is recommended that you adjust the tooltip's position so that it is slightly apart from the selected element, for easy access by the user.
💡 Make sure the option "From URL Pages" in Start Guide is enabled, and the url of the page is correct. This way, the tooltip only appears to users on that specific page;
💡 For tooltips, we recommend disabling the option "From Guides List" in Start Guide. You can also hide the tooltip on the guides list by accessing Page settings and selecting the option Hidden.
Unlike Tutorials, Tooltips do not have "Actions"
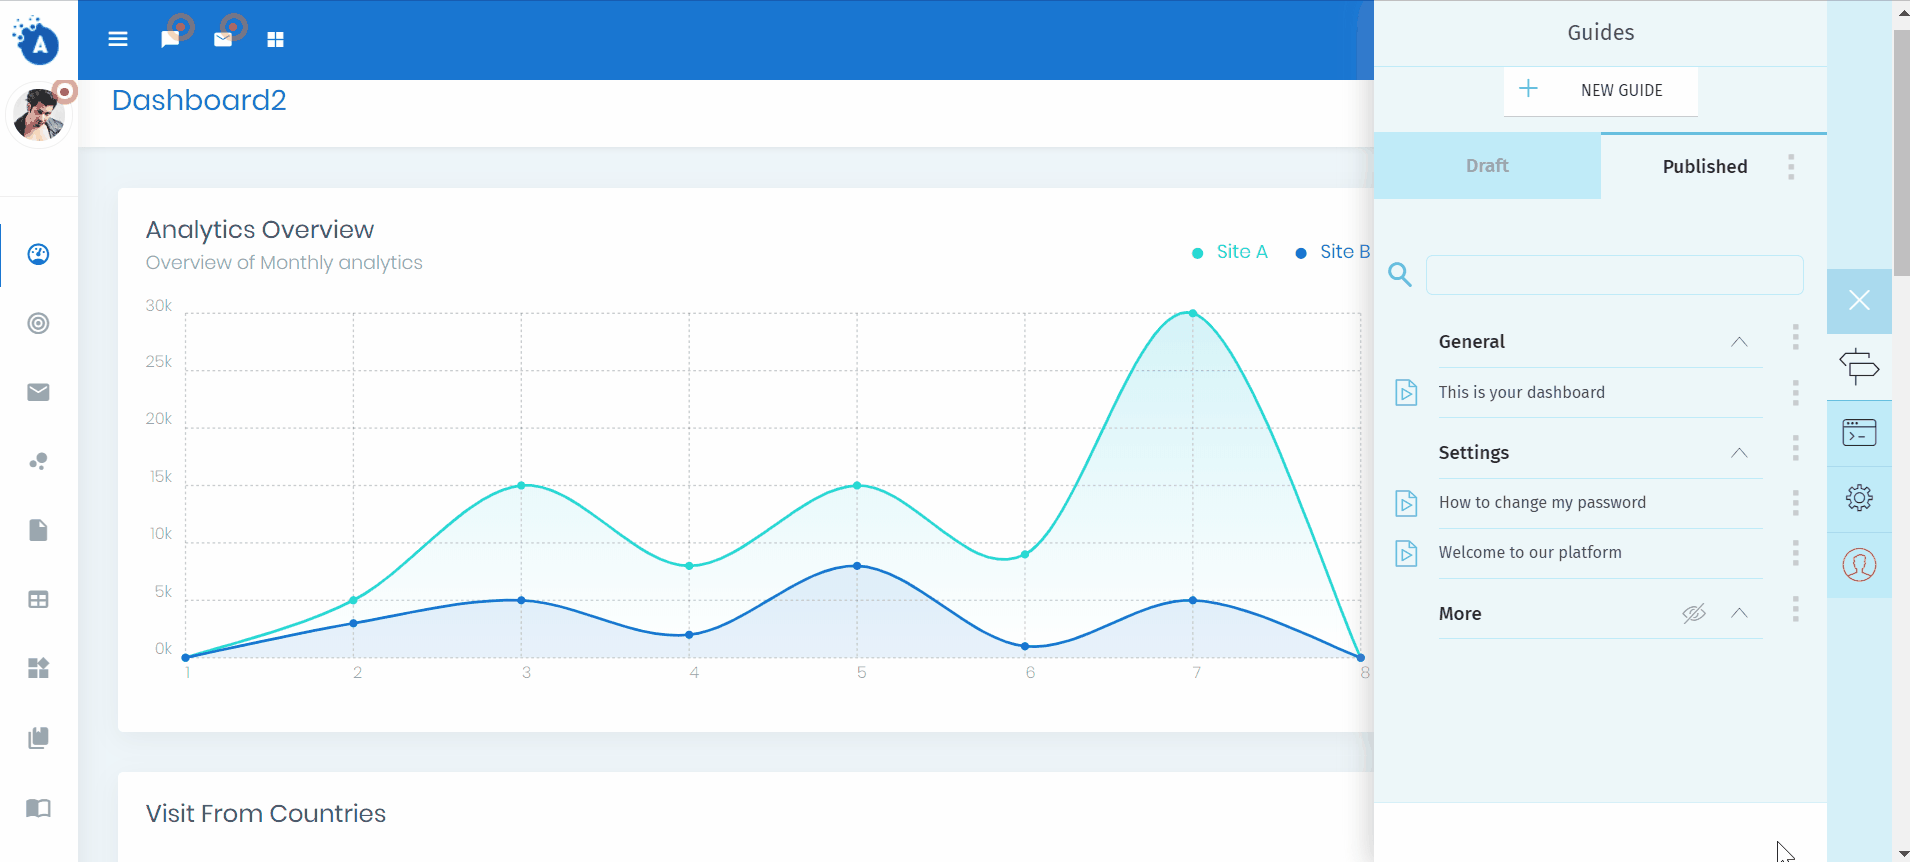
2 - Organize guides into specific categories
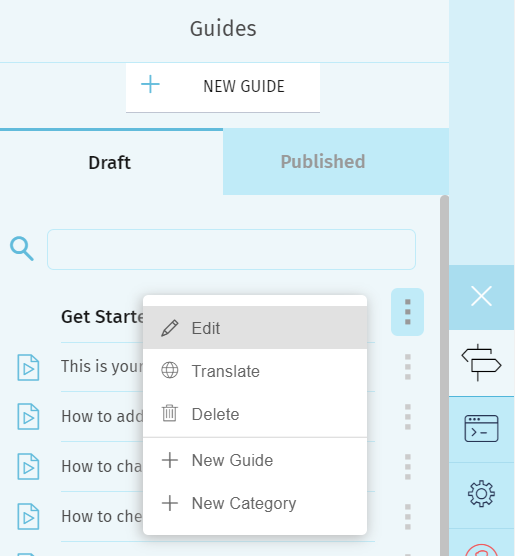
One of the biggest issues online users have is finding information. For that reason, it's important that you organize your guides into different categories, just like you would do in traditional FAQs.
By default, when you log in to the widget for the first time we add a category called "General". You can edit the name and description so it fits your product.
To add a new category you need to click on the options menu and select "New Category". Add a Name and Save.
A great example of category division would be:
Getting Started -> Feature X -> Feature Y -> Advanced Settings
Check this article on how to edit and create categories.
3 - Share guides' links on your support channels
Quickly reply to phone calls, emails, and chat messages by sharing your guides/tutorial videos with customers.
Instead of sharing traditional support articles, you can share your guide's link to redirect users directly to your platform. This way users can follow steps and interact with your platform at the same time, achieving goals quickly.
1- Your guide needs to be published & available for end-users;
2 - Go to your "Published" tab click the "Guide Options" menu
3 - Click on "Shareable Link". The link will be copied to your clipboard so you can share it via chat.
When the user clicks on the link he/she will be redirected to your platform and the guide will start playing automatically.
Helppier Patterns (Use Cases)
1 - Quick & Clear
Guides that show a popup message (without being attached to a page element)
When to use: To alert users of maintenance that will be done on the servers; To notify users that a specific area of the site is going to be deprecated; To ask users if they are willing to start a survey; To welcome users to your platform; To announce new features;
2 - Show & Tell
A guide that shows where the user needs to go, tells him/her what can be done on that element
When to use: To provide a first overview of your platform; To highlight new features/areas; To provide a small description about a feature or form field; To provide hints on how to better use a specific feature;
3 - Show, tell & interact
A guide that shows where users need to go, tell users what to do, and simulate interaction with a specific element
When to use: To redirect users to the correct area/page of your platform; To demonstrate step-by-step how to use a specific feature; To help users achieve specific tasks; To encourage a specific action on your platform such as typing some text or clicking a button.
Comments
0 comments
Please sign in to leave a comment.