This integration allows sending specific Helppier events to your Google Analytics account.
Helppier identifies the Google Analytics tracking ID that has been installed on your website. So make sure you have your google analytics account all set up to make this integration.
1. Go to your website where Helppier is installed, click on our widget, and login to your account;
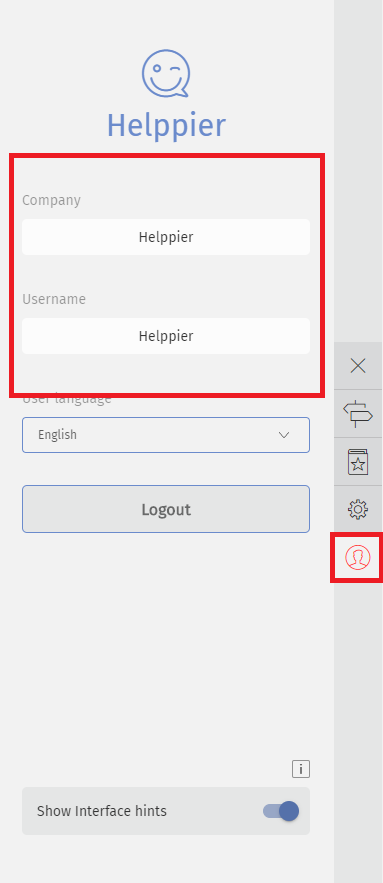
2. Click on the settings icon located in the sidebar;
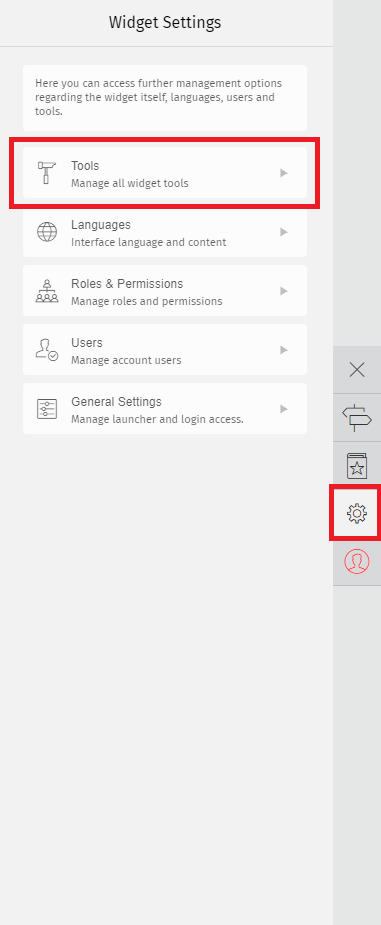
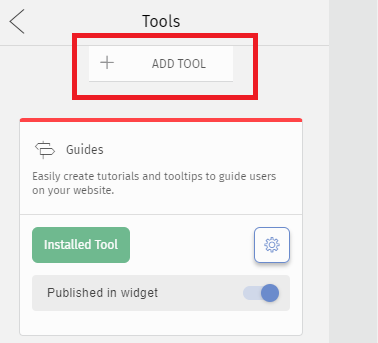
3. Click on Tools and select "Add tool"
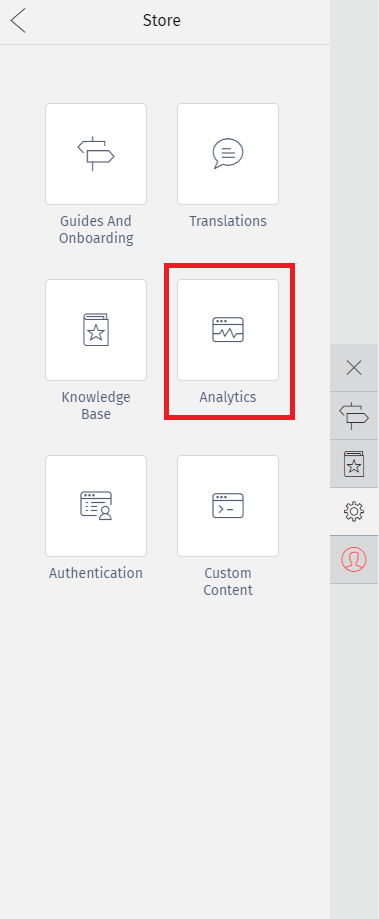
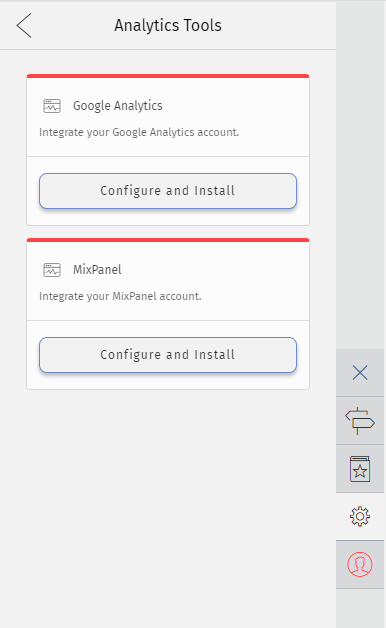
4. A list of tools will appear. Select the Analytics option.
5 - In the card Google Analytics select "Configure and Install"
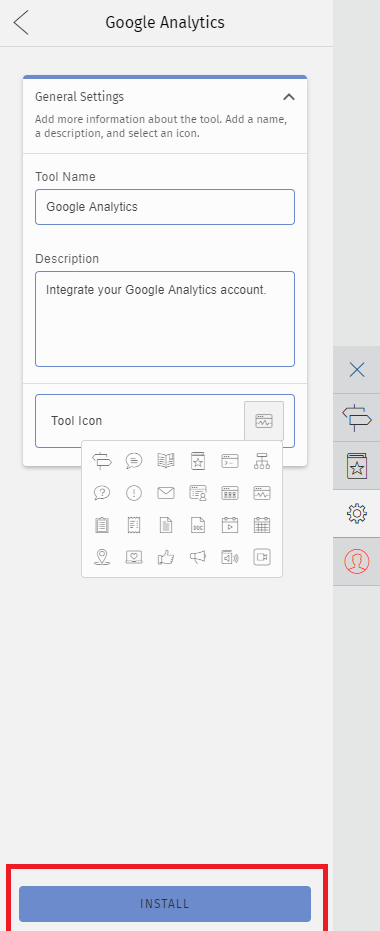
5. Change the description and icon of the integration if you'd like. Then click "Install"
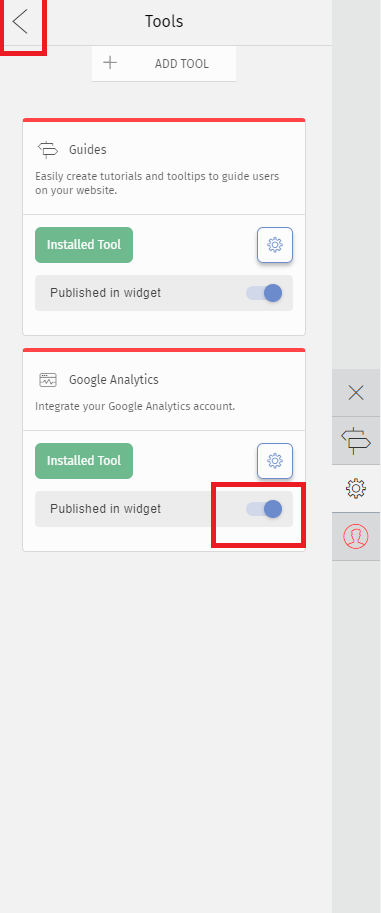
6. Go back to your tools list and enable the option "Published in Widget"
You do not need to configure anything else. Helppier will automatically send information to you assisting the tracking and analysis, on your Google Analytics account.
Viewing Helppier events in Google Analytics account:
In your Google Analytics account, all Helppier events will be sent to "Event Category" section called Helppier.
You can access these events in your Google Analytics dashboard under Reporting > Behavior > Events > Top Events or Real-Time > Events.
You can also see the pages of your website which get the most Helppier events. Go to Reporting > Behavior > Events > Pages.
Advanced Settings: Set up Custom Dimensions
To be able to associate more data about Helppier Guides to Google Analytics, you can create more than 9 custom dimensions, with the same Index number defined below.
Here is the list of custom dimension tracked in Google Analytics:
"stepIndex" (Index 7) - Index Number of the guide step
"stepName" (Index 8)- The name of the guide step
"specificMessage" (Index 9)- Feedback option is chosen by the user on the guide step
"guideType" (Index 10) - Type of the guide created, Tutorial or Tooltip
"playType" (Index 11) - Type of guide play (On the guide list, by shortlink or by auto-play)
"stopReason" (Index 12) - Reason for the guide stopped (by the user or by a fail behavior)
"devicesList"(Index 13) - Device chose by you to show the guide
"failBehaviour" (Index 14) - Guide behavior when the guide couldn't start
"elapsedTime" (Index 15) - The amount of time that has passed since the user played the guide until stopped or completed it.
How to set up a custom dimension on Google Analytics
2. Click Admin, and navigate to the property to which you want to add custom dimensions.
3. In the PROPERTY column, click Custom Definitions > Custom Dimensions.
4. Click New Custom Dimension.
5. Add a Name (guideType, guideName, stepIndex, stepName, specificMessage)
6. Select the scope "Hit".
7. Check the Active box to start collecting data and see the dimension in your reports right away. To create the dimension but have it remain inactive, uncheck the box.
8. Click Create.
Comments
0 comments
Please sign in to leave a comment.