Helppier allows creating interactive user guides on top of your website. There are two different types of guides: Tutorials and Tooltips
In this article, we explain the basics of creating your first guide using Helppier.
After installing Helppier via Chrome Extension or Code Snippet, the widget will be available on top of your website or platform.
1. Click on the widget and login with your credentials
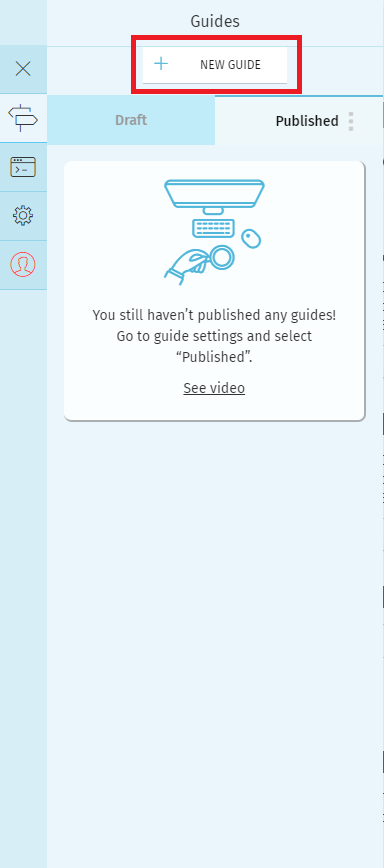
2. Go to the guide's list and click "New Guide"
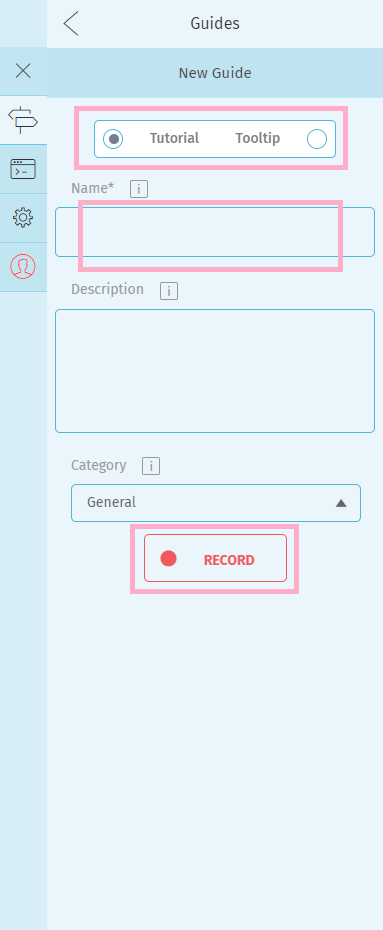
3. Select "Tutorial" or "Tooltip", add a name and click on "Record"
4. In recording mode, click on an element of your page that you want to attach a guide - a bubble will appear. Edit the content as you wish.
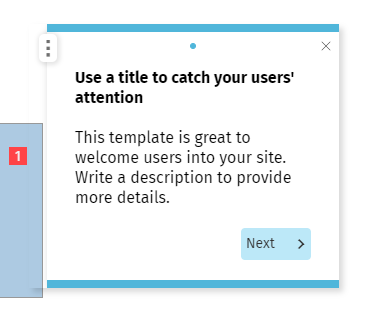
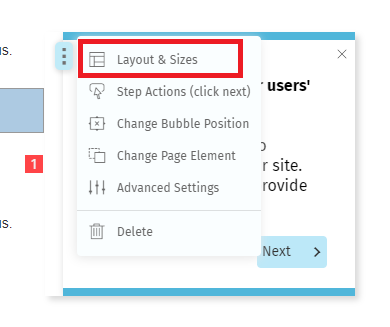
5. To change your bubble's layout, access the menu on the top left. And click on "Layout & Sizes".
A sidebar will appear just click on the layout you'd like to use.
For more information regarding templates read this article.
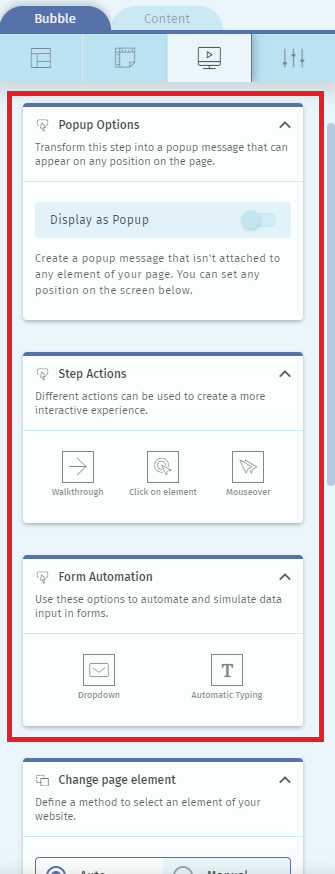
6. If you'd like Helppier to simulate a click on a button or transform this step into a popup message go to "Step Actions" in the bubble's menu.
A sidebar will appear, just click on the action you'd like to apply.
For more information about Actions read this article.
7. To keep adding steps just click on a different element of your page. A new step and bubble will be created.

8. After you have all steps created, click on the "Save" icon in the bottom bar and Close.
Before saving, you can preview how the guide looks. Click the Play icon on the bottom bar. To play the guide again, go to your Guides list and select the guide you want.

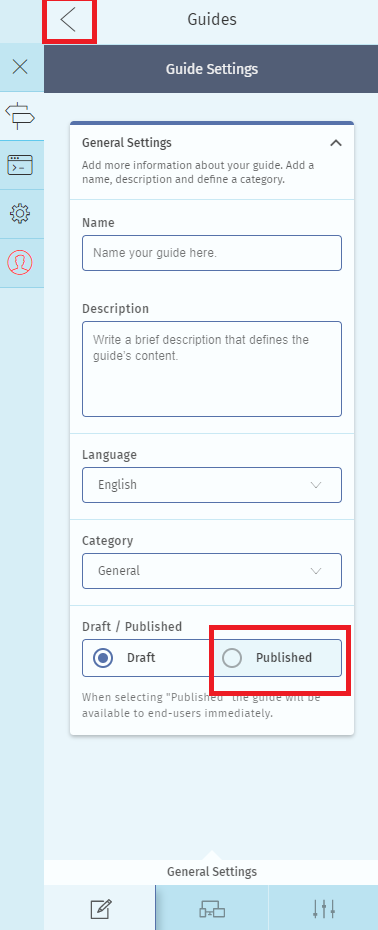
9. To publish your guide for end-users, go to Guide's settings and select "Published". Then go back to the guides list to ensure all changes were saved.
Comments
0 comments
Please sign in to leave a comment.