Helppier allows you to create beautiful onboarding messages that match your website's appearance.
In this article, we explain how to fully customize your tutorial or tooltip from templates to header and footer appearance.
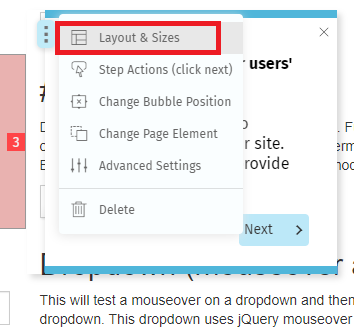
1. In recording mode, when you select a new element on the page a default bubble will appear. If you'd like to change the layout click on "Layout & Sizes" on the top left menu.
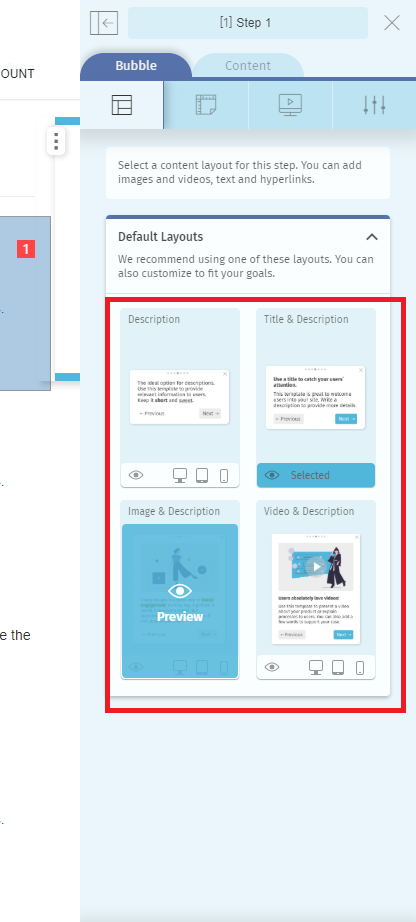
2. A sidebar will appear. We offer 4 different layouts for both tutorials and tooltips.
Click on the layout you'd like to use and then click "Apply".
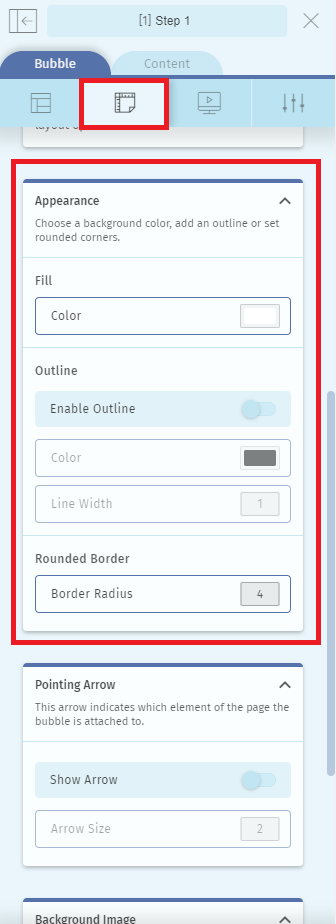
3. To change the bubble's appearance go to the second tab on the sidebar and scroll down to the "Appearance Section"
Note: The layouts "Description" and "Title & Description" allow different bubble sizes including banner size. You can select the size you want on this same tab.
3.1 - Select a color on the "Fill" option to change the background color. Make sure your text is also readable by selecting the content and changing the color in the rich text menu.
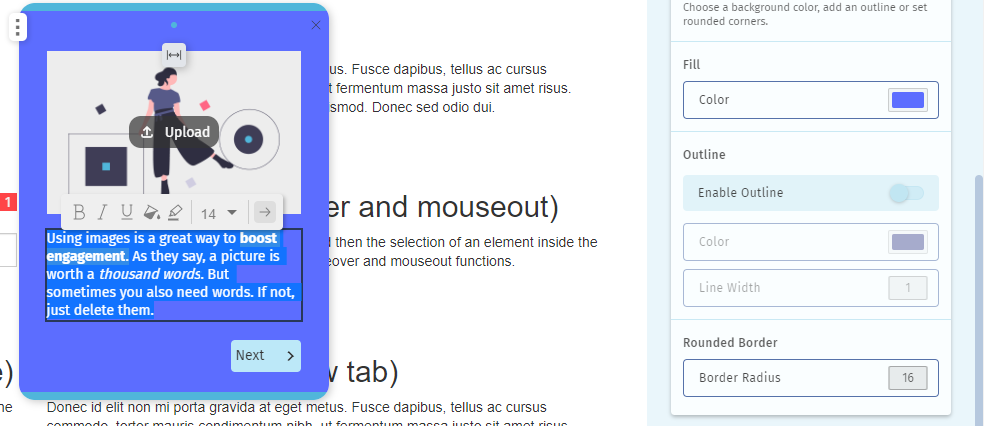
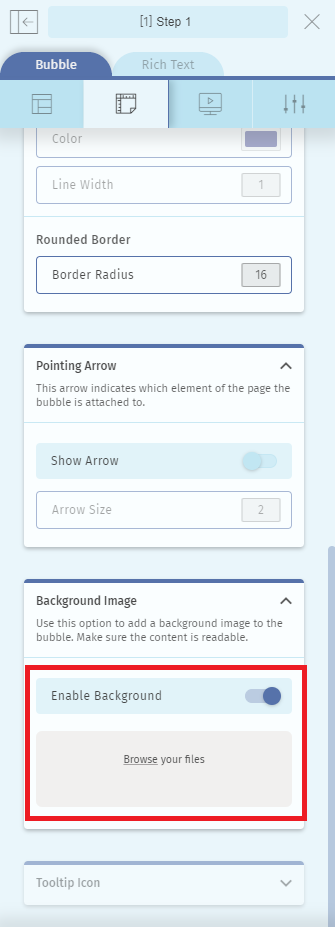
3.2 You can also enable an outline and make the bubble look rounder by defining the level of the Border radius, just like in the image above.
3.3 - To add a background image scroll down to the "Background Image" section. Enable that option and upload your file.
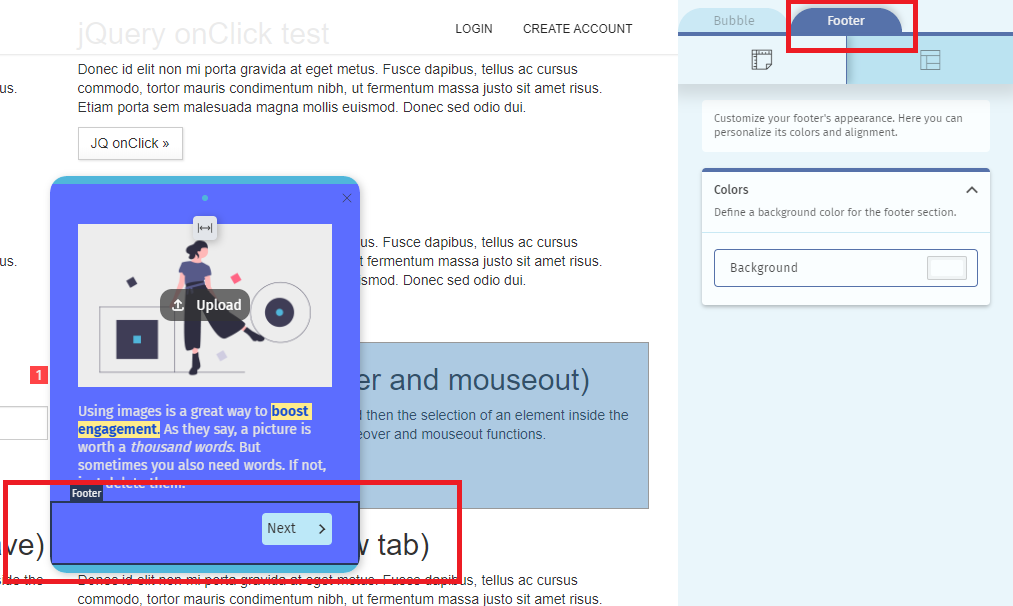
4 - To change the Header Section or the Footer section or any other element in the bubble, click on the corresponding content block.
The sidebar will present an option in the top menu associated with the block you want to edit.
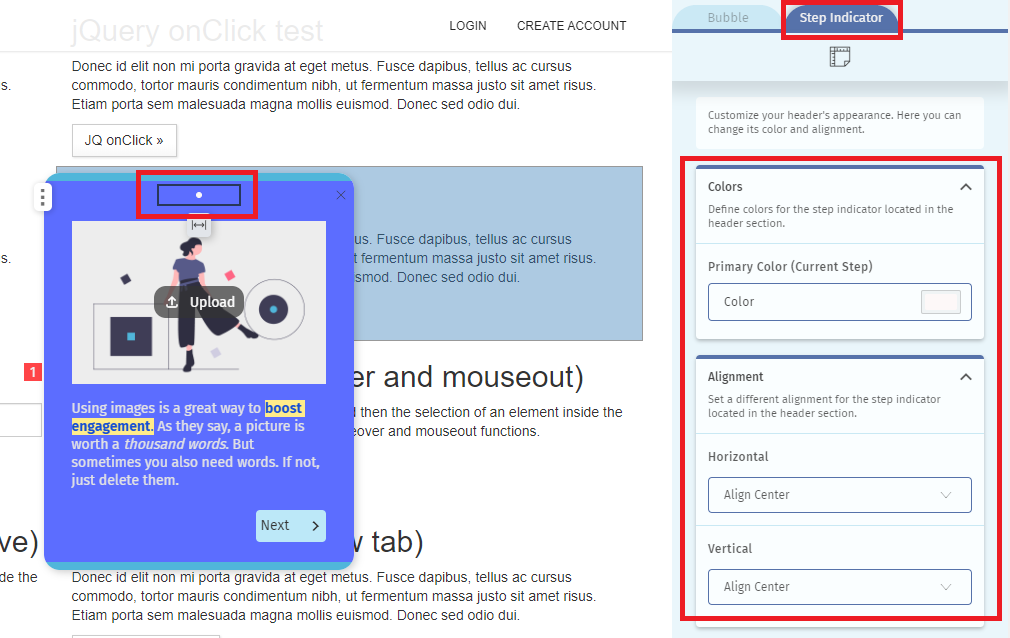
4.1 Just like header and footer, you can also edit the Step Indicator bar located in the bubble, by selecting the corresponding content block.
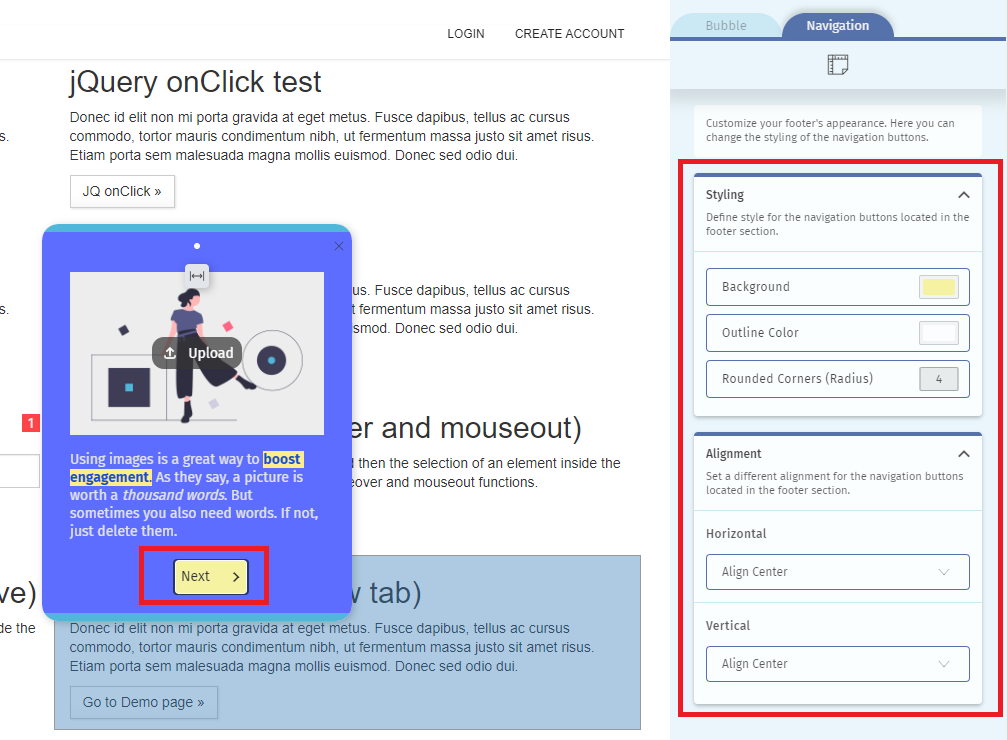
4.2 To change the navigation buttons, repeat the same progress.
6. Preview how your guide looks by clicking "Play" in the bottom bar and then click the "Save" icon, so you don't lose all the changes.

Comments
0 comments
Please sign in to leave a comment.