With Helppier, you can easily make changes to your user guides at any time.
There are two ways that you can edit your guides: entering recording mode by clicking "Add Step" or quick editing a specific step. Follow the instructions below.
Editing user guides with the recording mode
If you'd like to add new steps and editing other existing ones, entering recording mode is the recommended way to edit your guides.
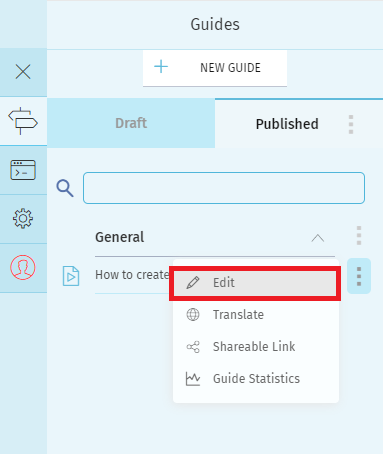
1. Go to your guides list. And click on the "Edit" option associated with the guide you'd like to change.
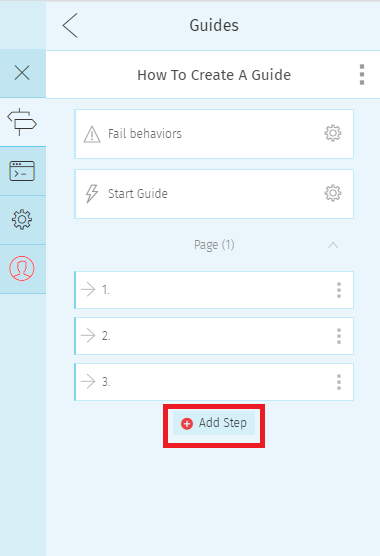
2. A list with all the steps will appear. Click on "Add Step" to enter the recording mode.
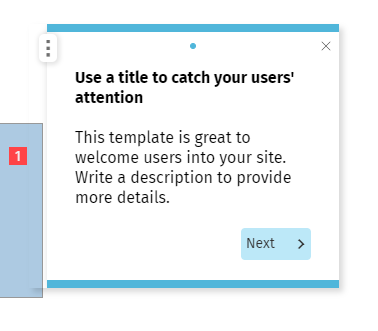
3. Select the step you want to change by clicking on the number icon in red.
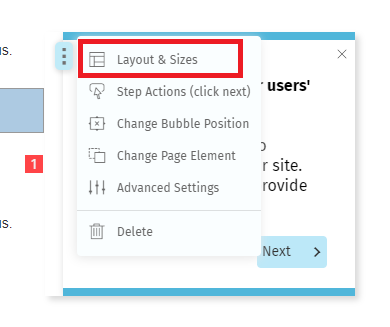
4. Depending on what you'd like to change, click on the bubble's menu to see more options on templates, actions, and positioning.
4.1. To change the template select the option "Layout and Sizes"
4.2. To edit the content, simply click on the text or image and make changes directly within the bubble.
5. Click "Save" in the bottom bar to record all changes in your guide.

Editing user guides using quick edit
If you just want to make quick changes to a specific step's content, we recommend using the quick edit mode by following the steps below.
1. Go to your guides list. And click on the "Edit" option associated with the guide you'd like to change.
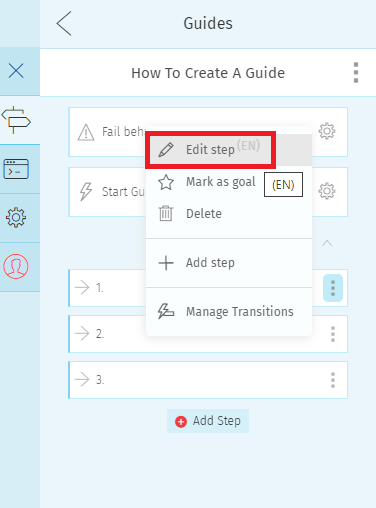
2. A list with all the guide's steps will appear. Click on the menu of the specific step you'd like to change. And click "Edit Step"
3. The quick edit mode will start.

3.1. To edit the content simply click on the text or image and make changes directly.
3.2 To change the layout and action select the first tab on the sidebar and click on the layout you'd like to apply.
4. After you make all changes click on the icon "Save" located in the bottom bar.
To leave Quick edit mode click the "Close" button located in the top right corner of the bubble.
![]()
Comments
0 comments
Please sign in to leave a comment.