With Helppier you can create different types of user guides and in-app messages. Including contextual tooltips and Hotspots.
In this article, we explain how to create and customize your tooltips using Helppier.
1 - After you set up your app/domain and add Helppier to your website click on Helppier's tool.
2 - Click on "New guide" and select "Tooltips"
3 - Click on a page element that you'd like to add a tooltip
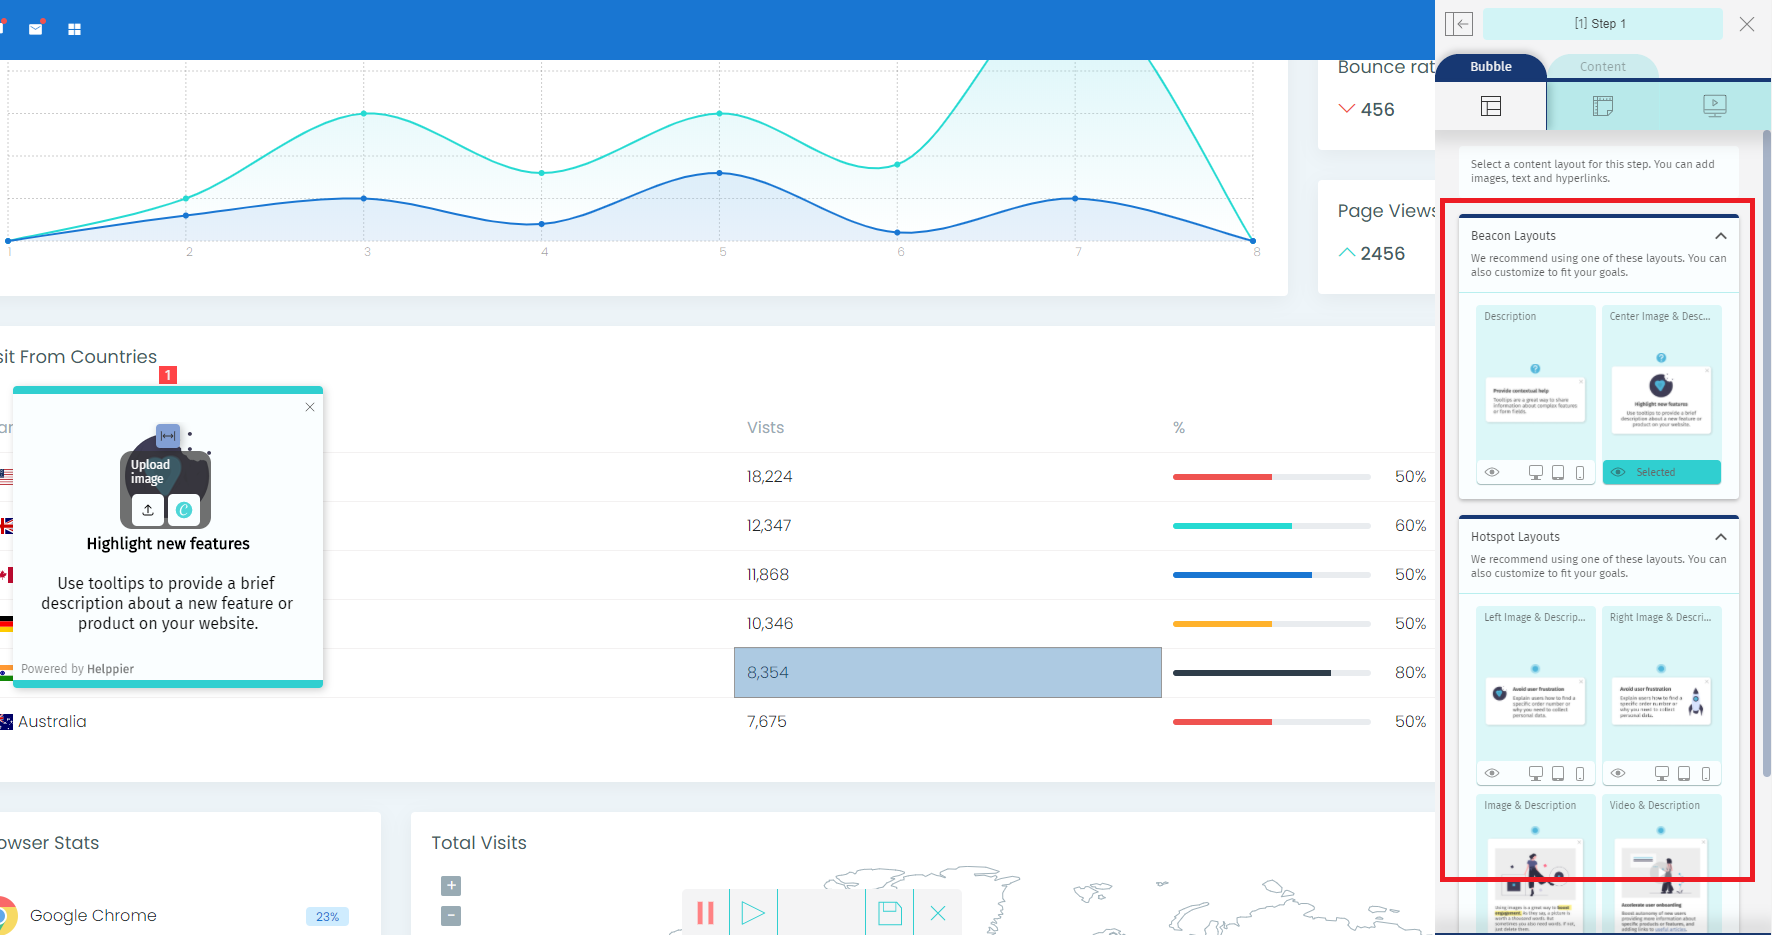
4 - A default message will appear. Select a new layout by clicking "Bubble Layout" on the left side menu;
5 - Select a tooltip template and customize all the colors using Helppier's sidebar.
You can read more about customization here.
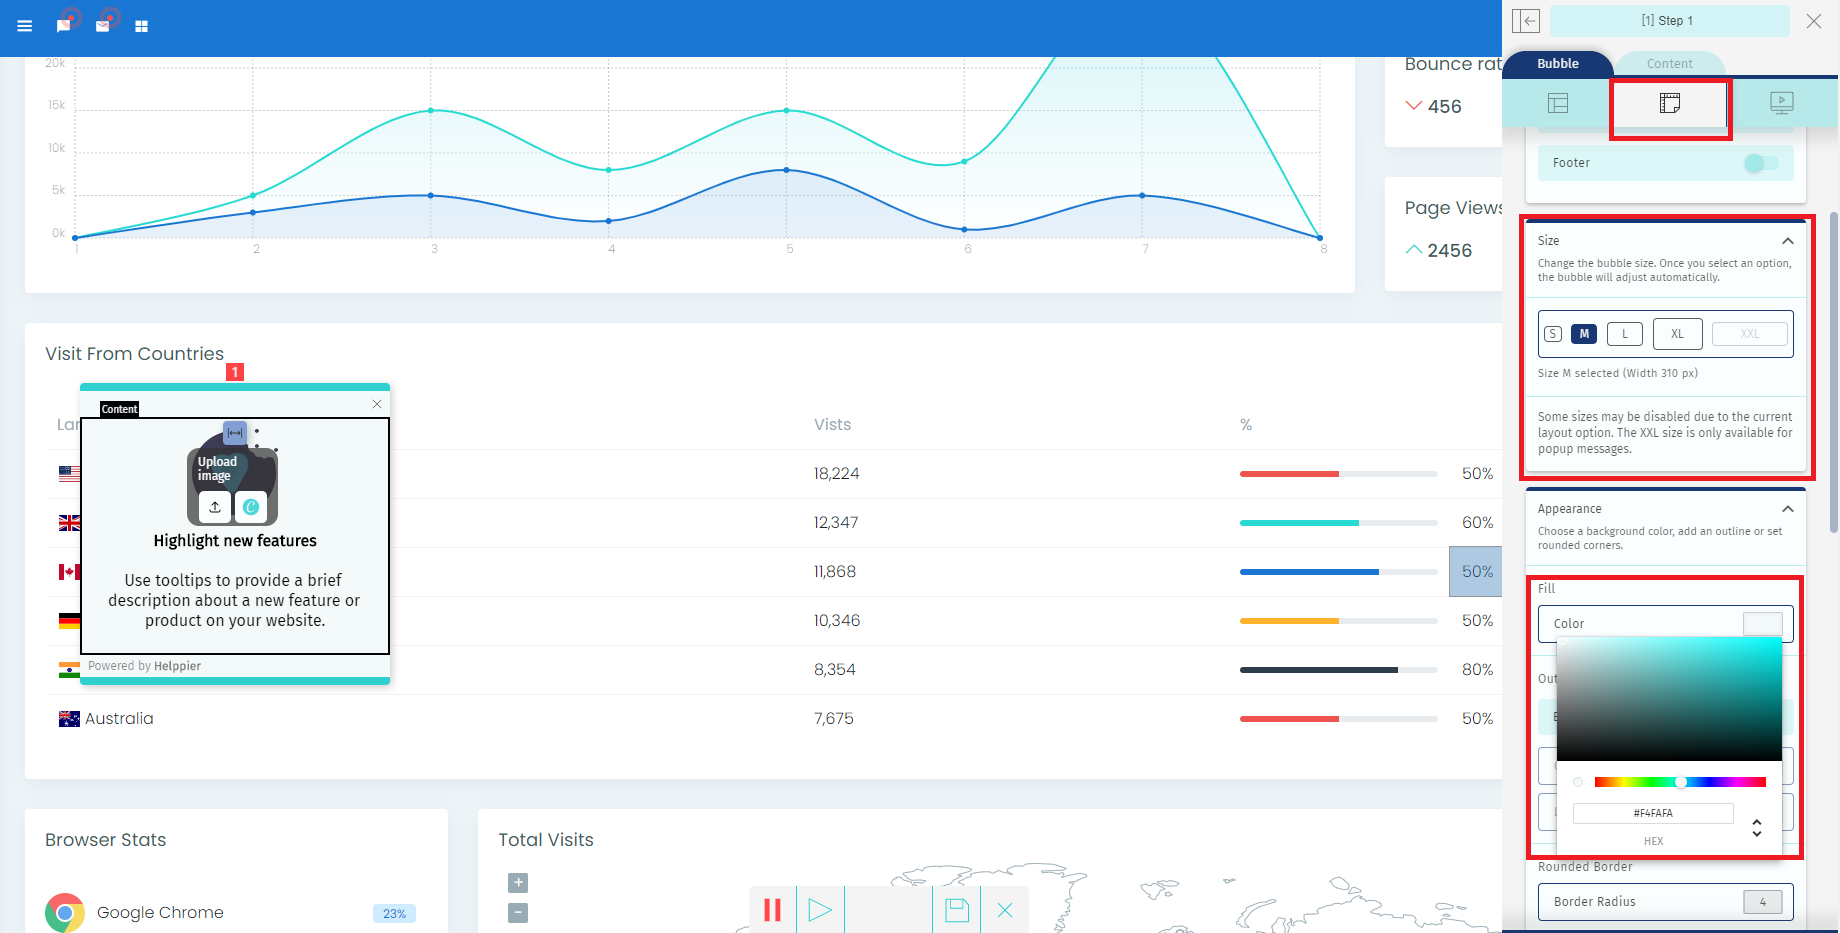
6 - To change the tooltip icon click on the second option in the sidebar and scroll down to an area called "Tooltip Icon"
![]()
7 - Helppier always applies a default position next to the element selected.
To adjust your tooltip position click on the 3rd option in the sidebar and scroll down to the area "Change Position"

8 - To add more tooltips on the same page simply click on a different element of your page and repeat the steps.
After customizing your tooltips and messages click "Save" on the bottom bar.
If you're using tooltips we recommend adding an Autoplay so it starts automatically on a specific page.
We usually add this option by default but to check it, follow these steps:
1 - Go to your guides list, select your guide and click "Edit"
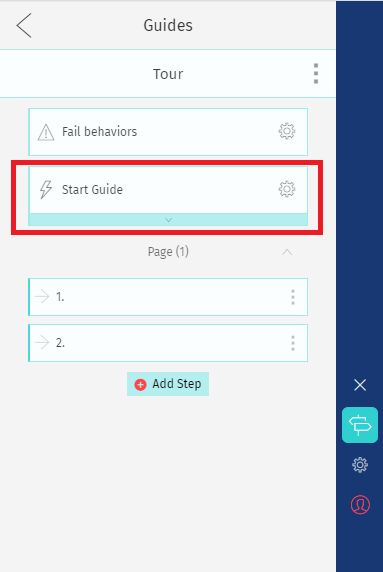
2 - Click on "Start Guide" and see if the option "Start from URL" appears.
If not, then go to "Actions Library"
3 - Select "Autoplay"
4 - Select the option Start from specific URL and click "Configure and Install"
5 - Select the option "Specific URL" and include the URL where your tooltips have been created.
6 - Click on "Apply Action".
Make sure to disable the option "Start from list" if you don't want users to access tooltips from our tool.
To see how your automated tooltip looks you need to publish your guide, log out of your account, and refresh the page.
Comments
0 comments
Please sign in to leave a comment.