With Helppier you can create in-app notifications and warnings to inform users about server issues, product updates, new support schedules, etc.
Find out how to create a simple notification and warning using Helppier.
1 - After setting up your app/domain and adding Helppier to your website you need to create a guide;
2 - Click on Helppier's widget, click on "New Guide" and select an element of your page;
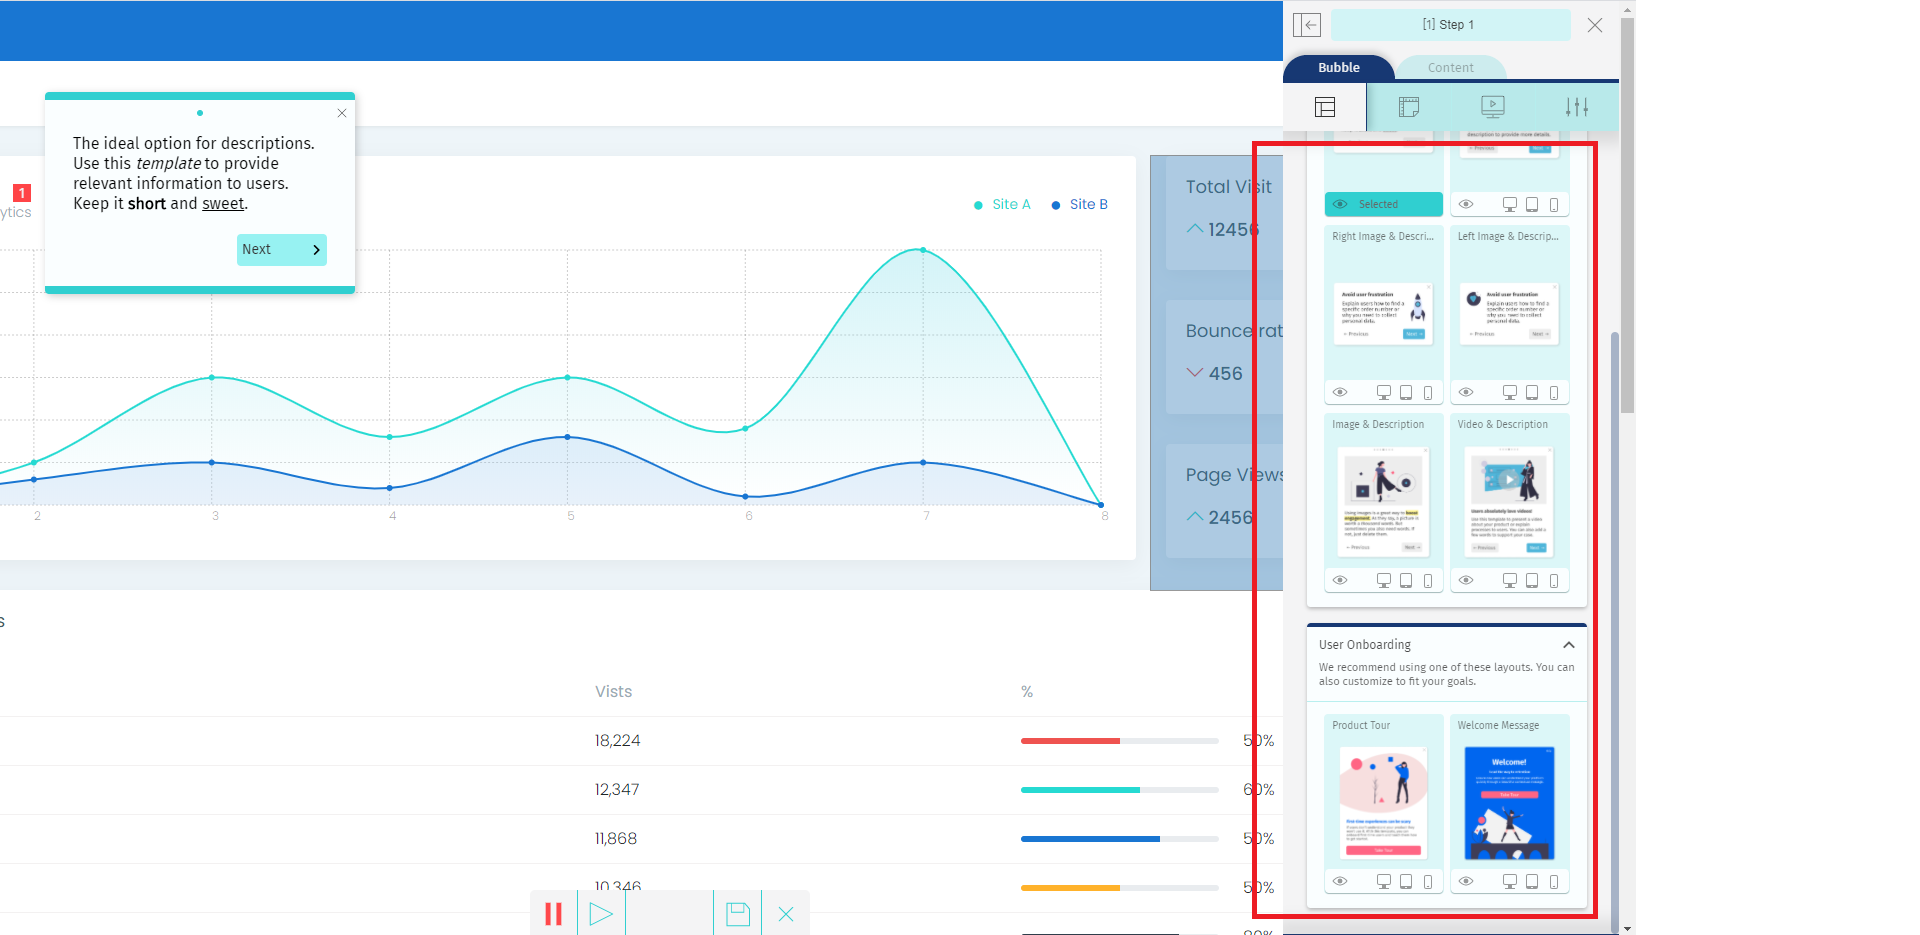
3 - A default message will appear - choose a layout suitable for a warning/notification message by clicking the option "Bubble Layout" located on the side menu;
- We recommend using text layouts for this type of message, so the image doesn't distract users from the actual message. If you'd like to add media opt for a small icon.

4 - Once the new layout is selected, click on the third icon located on your sidebar and enable the option "Display as PopUp"
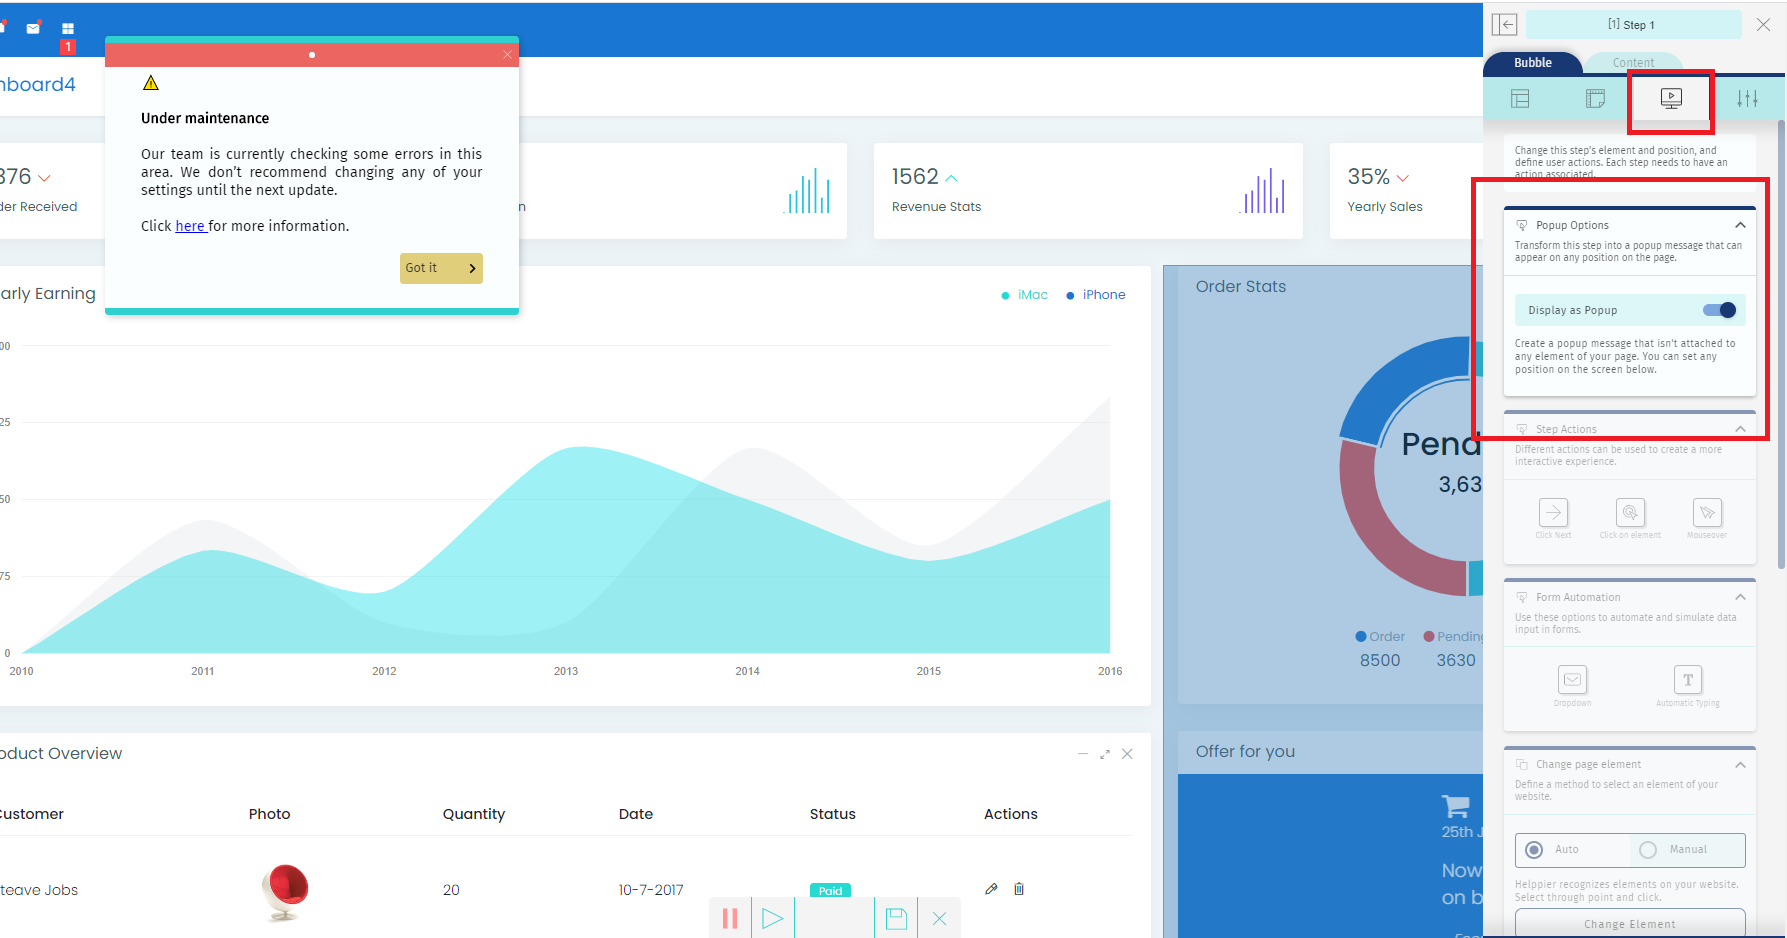
5 - Your notification/warning will appear at the center of the screen as default and not attached to the element selected.
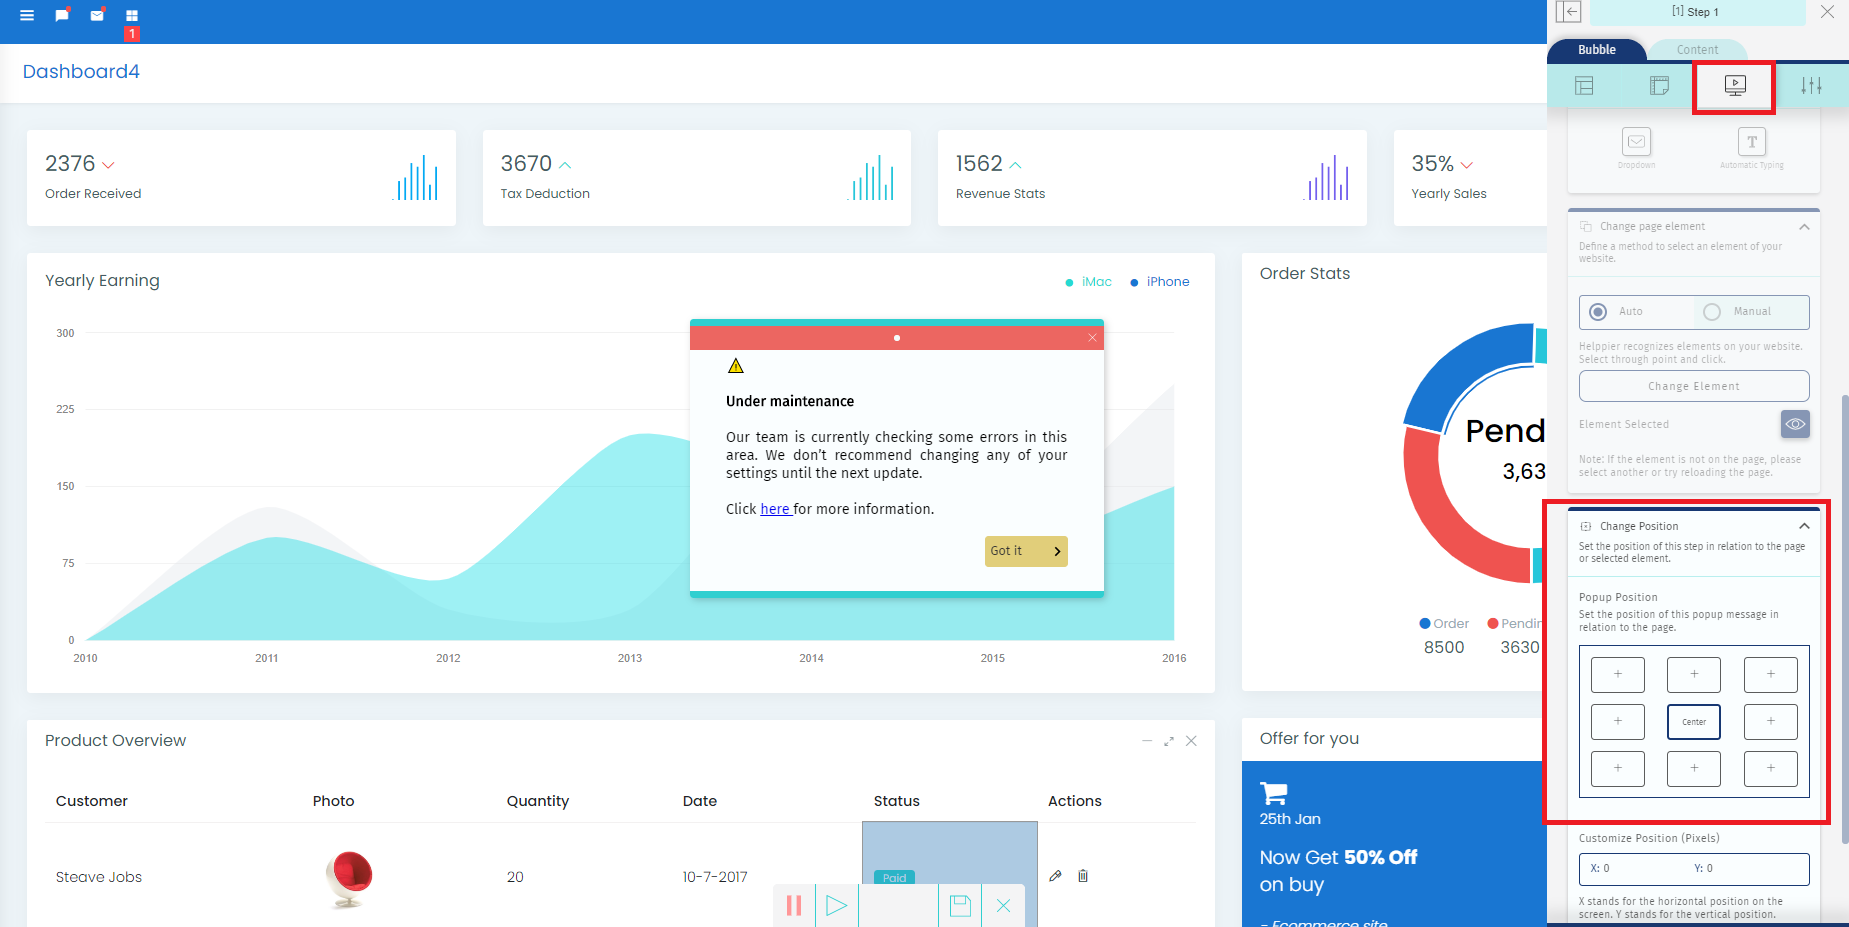
- To change the position of your popup scroll down in the sidebar and select a different position just like displayed in the image below.
6 - Make the changes to your notification colors, message, and button to fit your goals and click on the icon "Save" located in the bottom bar.
Learn more about customization here.
- We recommend using these colors to draw attention to an important warning: orange, yellow, and red.
- For a notification message, we recommend using lighter colors: blue, green, and grey.
7 - After customizing your notification/warning, click on the "Close" icon to leave the recording mode.
After saving your notification or warning, you can set it up to be automated and appear when users enter a specific page or interact with a specific element using Start Guide.

For this type of message, we think setting up an Autoplay action on a specific element of your page is a great practice, let us provide a few examples:
- Provide a warning message after the user clicks on a feature that is temporarily unavailable;
- Provide a notification about a discount or out of stock message when users click on a specific product;
- Provide a warning when the user clicks on an advanced option that requires technical knowledge;
To do so, follow these instructions:
1 - Go to your guide's list and click "Edit"
2 - Access "Start Guide"
3 - Click on "Actions Library"
4 - Select "Autoplay"
5 - In the option "Start from element" click "Configure and Install"
6 - Record the element you want, select the mouse action that the user needs to take (mouseover, click)
7 - Click "Apply action"
Once your guide is published, when the user interacts with that specific element your notification/warning will appear right away.
Comments
0 comments
Please sign in to leave a comment.