From creating to publishing
To create, edit, and publish a guide or message on your website, you first need to install and log in to the Helppier tool.
After you sign up make sure you check your email to confirm your account.
1 - Creating your first guide
After installing our Chrome Extension or Code Snippet to your platform and login, you can immediately start creating guides.
1 - Click on "New Guide";
2 - Write a Name to be displayed on your guides list (e.g. How to Edit your Account);
3 - Select a Category & click on "Record"
4 - Click on an element of your website + add content (repeat this until you have all steps of your guide);
5 - Click "Save" your guide will appear on the Draft list.
You can preview how your guide looks on Recording Mode by clicking "Play" on the bottom bar or directly in the Guides List.
2 - Editing guides: you need to enter recording mode
Full Edit Mode
If you'd like to add new steps and editing other existing ones, entering recording mode is the recommended way to edit your guides.
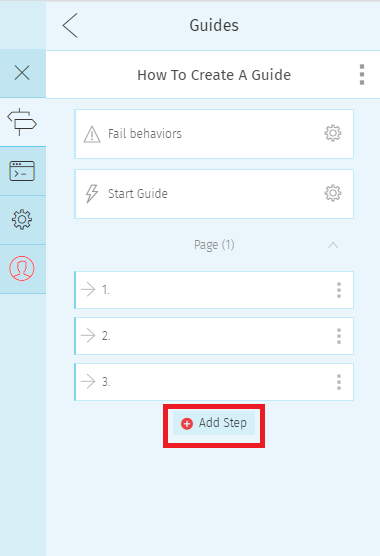
1 - Select the guide you want from the list and click on "Edit Guide"
2 - Click the "Add step" button, at the end of the step list, to enter the record mode.
3- Select the step number that you'd like to edit (red square icon).
Quick Edit Mode

If you just want to make quick changes to a specific step's content, we recommend using the quick edit mode.
1 - Go to your guide's list, select the guide, and click on the Edit icon.
2 - Select the step you want to edit, and click "Edit Step" on the menu.
Check this article on how to edit a user guide.
Main layout options:
Description - suitable to provide more information about a specific area or feature;
Title & Description - catch the user's attention with a clear title:
Image & Description - perfect for onboarding and welcoming first-time users;
Video & Description - provide clear instructions or mockups of your product through video;
We recommend writing a description of no more than 200 characters.
Write brief and short descriptions that are easy for the end-user to understand.
3 - Publishing: Guides are set as drafts by default
After you create a guide (tutorial or tooltip) it will be set as a draft by default, this means that it will only be visible to admin users.
To make it available for users on your platform (customers, colleagues) you need to publish it.
Check here how to publish your guide for users.
4 - Always set Fail Behaviours before publishing
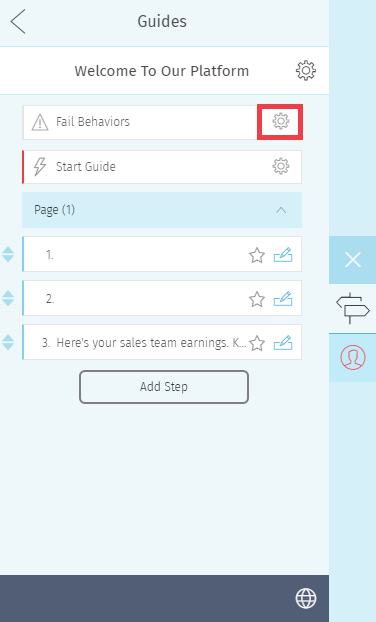
This feature is available on each guide and allows you to define the behavior of the widget if the guide cannot start. We recommend that you set a default fail behavior before publishing your guides.
Here's an example:
When we create a guide on an X page and the user is on page Y. If the user goes to
list and try to play this guide, the guide will not be able to start, because it is associated with a different page. To avoid this kind of situation you must:
1 - Go to the correct page of the first step of the guide
2 - Open the Helppier widget
3 - Select the edit icon of the desired guide
4 - Click on the menu Fail Behaviors
5 - Apply the option "Redirect the user to start page " on the Fail Behaviors menu.
6 - Then set the correct URL.
More information on this topic:
What is a Fail Behavior?
How to configure error messages.
5 - Use "Start Guide" for automated guides

Helppier allows displaying guides that start automatically when the user enters a specific page or clicks/mouseovers a specific element on your platform.
To set an automated guide, you need to click on "Edit" and access the "Start Guide" option.
This feature not only ensures the view of the guides (as it's not dependent on the user's search) but also draws attention to important areas/features on your platform.
There are two types of triggers:
From URL - guides that start when a user enters a specific URL on your platform
Best practices:
💡 If you choose the "From URL" trigger make sure that the specified URL for that guide is correct;
(it's important that the URL changes when navigating different areas of your platform)
💡 You can trigger the same guide for more than one URL. For example, when users access that same page from a search & the url is slightly different;
(Note that the elements of that webpage need to be the same in all URLs, so the guide makes sense)
💡 We recommend disabling the option "Start from guides list" when creating automated guides;
From Element - guides that start when a user clicks or mouseovers a specific element on your website
Best practices
💡 The visualization of your guide depends on the user's action towards the element. To set guides automatically from the element, you need to define a Mouse event (mouseover or click);
💡 Note that if you have updated your platform and that the element is removed or changed, the guide will not play correctly;
💡 You have two options you can select elements manually (via code) or via recording. We recommend recording the element directly on Helppier's widget;
💡 You can, for example, use the Start from Element when you have new features on your platform or a promotional area;
Notes for viewing your guides:
- The guide must be published for the action to take effect;
- You can only see the auto-guide if you log out of your account;
- You need to refresh the page;
6 - Remove the bottom bar at the time of visualization
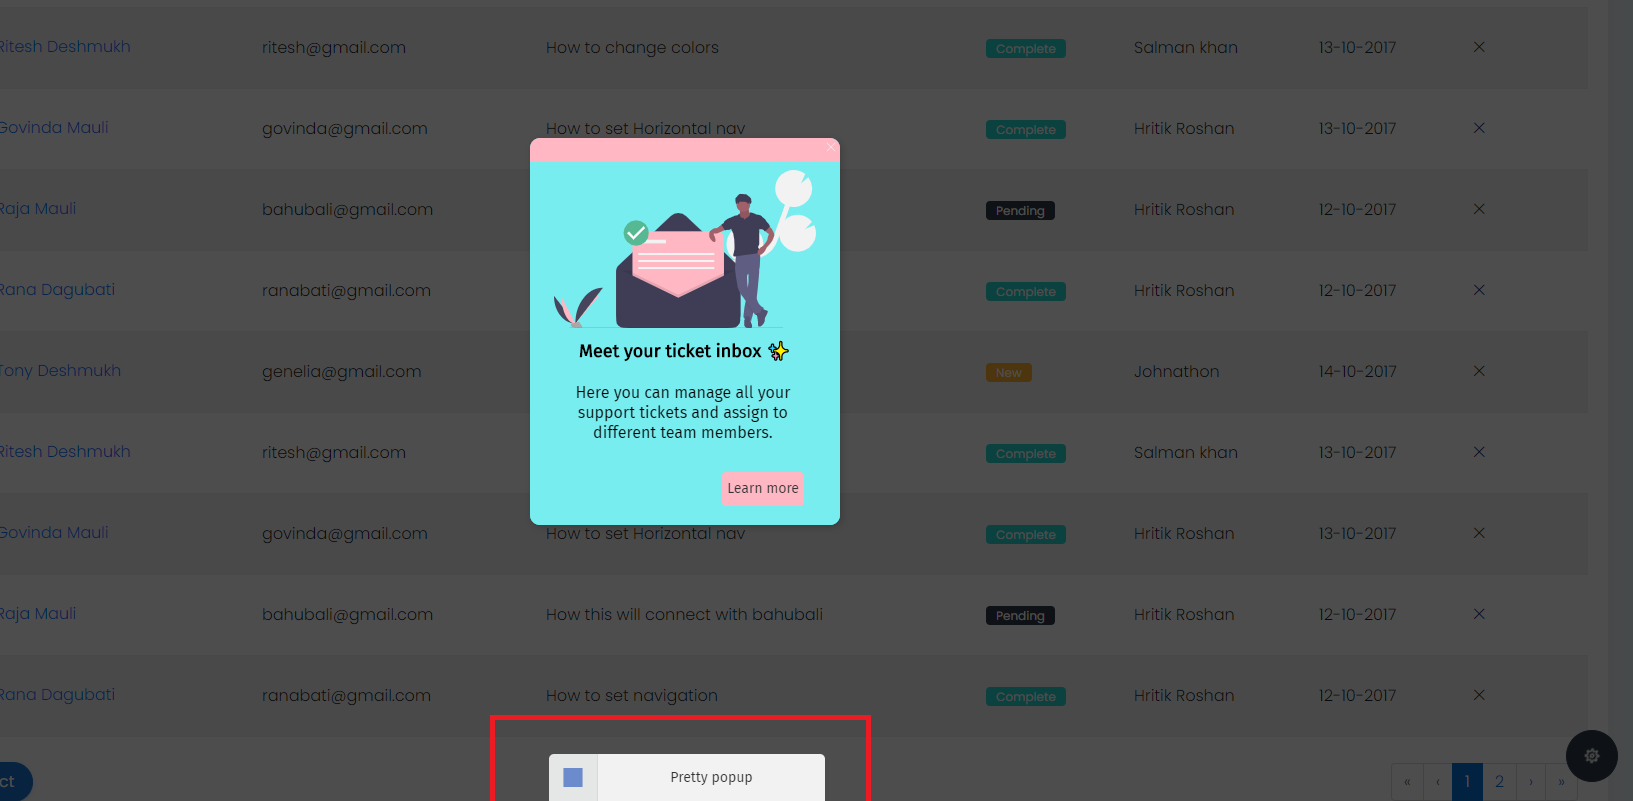
If you're only creating simple in-app messages to communicate with users over updates, new products or campaigns, we recommend you remove the bottom bar at the time of visualization.
To do this you can disable the option "Bottom bar" in your guide's Interaction Settings tab. Check out this article.
7 - Guide's settings: Disable overlay option

Helppier allows configuring some options that you may or may not want to apply to the guides. To access Guide Settings, select a guide from the list, click on "Edit" and select the Settings icon.
Use the navigation at the bottom to check the different options.
- As every platform is programmed and created differently Helppier does not apply the Overlay effect the same way. On the Interaction Settings, we sometimes recommend disabling the overlay option (the background darkens, highlighting only the element of the guide). You can also toggle the overlay for each step of your guide.
- On Page settings, you can define how a tutorial or tooltip appears in the guides' list. You have three options: Hidden (doesn't appear in the guides list), All pages (appears in the guides list, on all pages of your platform) and Specific Page (appears in the guides list, only on a specific url);
To hide the guide from the list you can also disable the "Start from guides list" option at the Start Guide Menu. - As every platform is programmed and created differently Helppier does not apply responsive the same way. On Device Settings, we sometimes recommend disabling guides on Mobile & Tablet devices.
Comments
0 comments
Please sign in to leave a comment.